Nipple guards are a great addition to your application! Whether you use the ready-to-use guards out of the pack, want to make your own or are just unsure of what they are, this is the place to be!
Welcome back, my friends!
And foes.
Have you ever heard of these sweet things called nipple guards?
No?
Man, you are missing out!

If you've ordered TransTape recently, you've probably seen these nifty handy-dandy things in the box with your tape.
They probably matched the tone, too.
If you're new to the game, worry not!
We're going to go over what nipple guards are, how they help and how to make them if you run out or can't order a new pack!
What Are Nipple Guards?
Nipple guards are one of my favorite things offered by TransTape.
They are an easy alternative to suffering without nipple covers, which is far from recommended, but the ready-to-use ones are also a great option for those of us who hate making things ourselves.
I'm all about making my life easier and pre-made nipple guards really do the job.
Prior to the TransTape era of nipple guards, I actually used waterproof band-aids in their place. They definitely worked, but oftentimes would cause itching and irritability underneath the tape. I would've rather suffered those minor side-effects than take the extra time to cut out my own, at the time. Making your own is easy and relatively quick, but you're not always in a DIY mood.

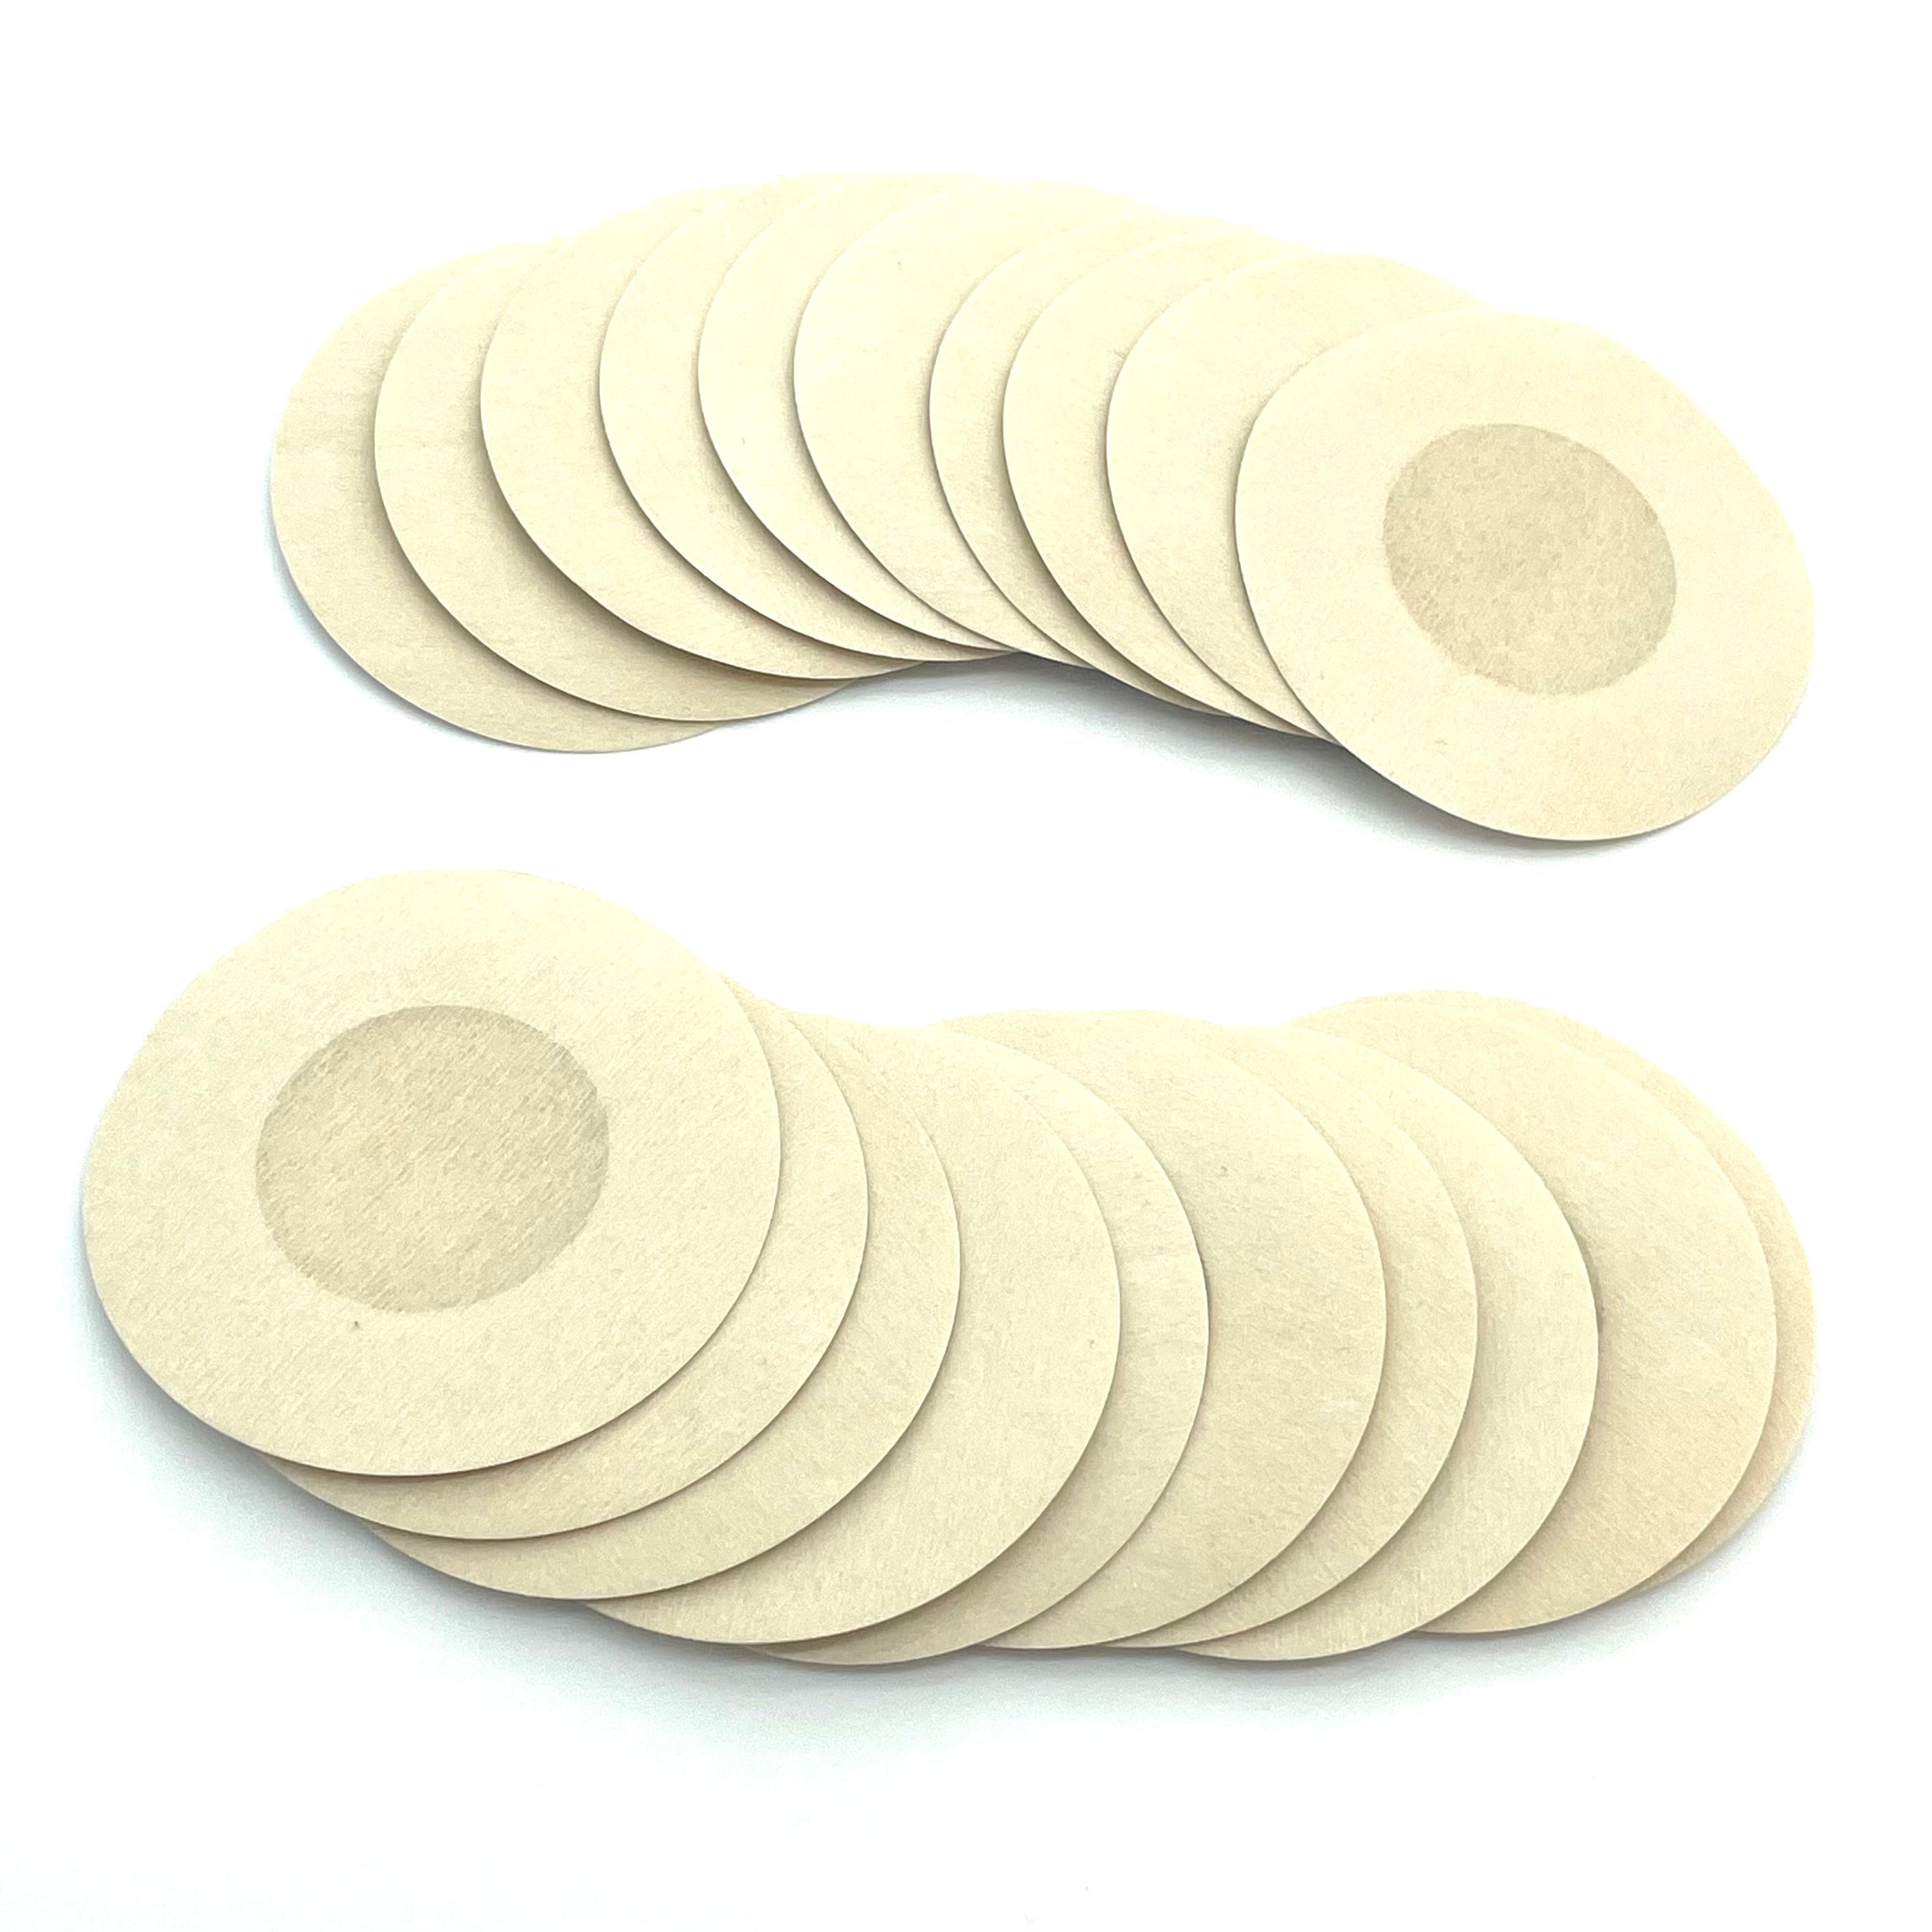
Nipple Guards are a round and lightly padded cover with a more gentle adhesive for sensitive skin, such as your nipples.
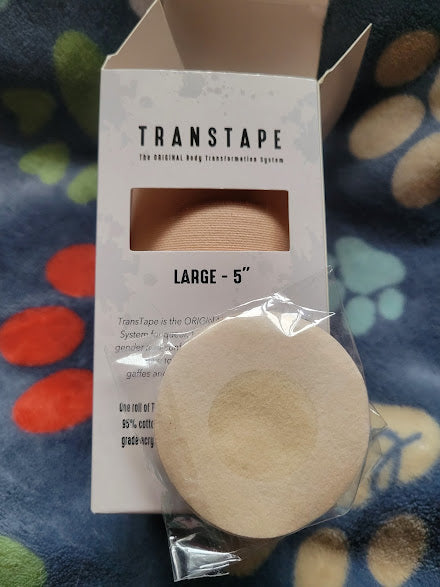
Guards are included in every box of tape, matching your chosen tone, and can be ordered separately to keep a nice size stockpile.
I always keep an extra pack or two laying around my bathroom.
Now, you don't need the official TT guards but they are highly recommended. You can always make your own with your tape and some tissue, but we'll cover that in a bit!
Always put a protective layer over your nipples before taping, you'll regret it if you don't!
How Do They Help?
Nipple guards act as an extra layer of protection for your nipples or other areas of sensitive skin.
Yes, there are other uses besides just covering the nips!
Nipple guards are absolutely 100% intended to cover your nipples during application.
However, you can also use them to cover an area in your tape zone that's irritated!
For example, maybe you have a scabbed over cut or an irritated pimple. As long as the sticky part isn't agitating the affected area, it could help protect that part of your skin while you're using TransTape.
You can also use them on your off days!
It's always recommended to give your skin a break in between your applications, so nipple guards are a nice option if you're self-conscious about them when you aren't binding.
They might not give you that full chest binding experience but they can help relieve a little dysphoria for some of us.
The main reason these bad boys, or gals, exist is to make your life easier and protect your skin from the strong and durable adhesive.
Before applying them, apply some repairing salve onto the padded inside of the guard, and your nipples, to keep your skin comfortable and prevent it from becoming bothered.
After all, you can wear TransTape for up to 5 days. You wanna make sure your nipples are protected and good to go for a while!
Can I Make My Own?
You sure can! Making your own is super simple, let me show you!
Step One - Gather Your Supplies!
For this DIY you're going to need the following:

2 Squares of Toilet Paper or 2 cotton rounds
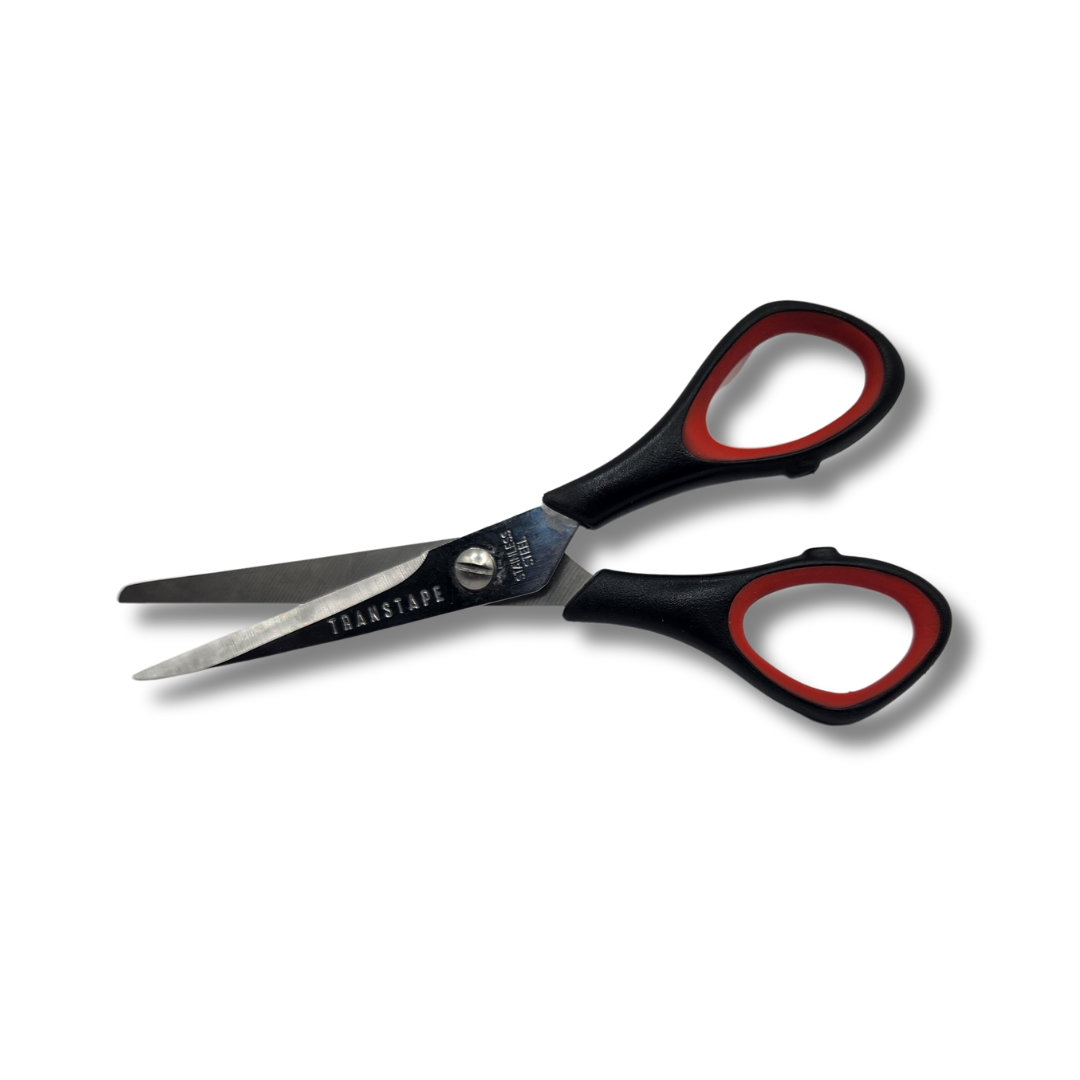
1 Pair of Scissors
Optional but recommended: Repairing Salve
Step Two - Cut 'Em Up!
Everyone's body is different, size them based on your chest!

Based on how much tape you'll need, cut some off the roll.
I'll be using about 2 sections of TransTape to make two guards.

Cut your piece in half to make 2 even halves.
Make sure you have enough tape to cover your nipples!
And the sensitive skin surrounding them.
For the best and smoothest application, round your edges!
Keep in mind while cutting that you'll need enough space for your tissue!


Depending on your body, your guards may end up being slightly different sizes, and that's okay! Don't worry about being perfectly symmetrical, just focus on making guards that fit you.
Step 3 - Add Some Cushion
Without adding some cushion, the covers wouldn't be very helpful. So don't skip this step!
Prepare each guard separately to avoid compromising the adhesive.
The more you touch the sticky side, the less the adhesive will bond to your skin because of your skin's natural oils.
Depending on the size of your nipple guards, you may have to fold up your tissue or cotton round.
If you're using a square of tissue, fold it into fours to create a smaller square to cover your nipple.


But keep the size of your cushion small enough so that the tape can cover it and keep it in place.

Before you officially play pin the guard on the nipple, I highly recommend adding some repairing salve to your cushion too!
It doesn't hurt to apply directly to your nipples right before you apply either.

The salve will help keep your nipple moisturized and happy while you're out being a binded badass.
It's not 100% mandatory, but you might end up having some serious FOMO.

After carefully removing the backing, place your cotton round or folded tissue in the center of your guard.
Remember, this adhesive is strong but if you touch it with your hands too much it will lose some of its stickiness due to your natural oils.
Step 4 - Apply
After you prepare your guards, it's time to apply them!

After you've applied your salve, assuming you listened, go ahead and carefully place the nipple guard over your nipple.
If you tend to experience issues with TransTape sticking to your skin, you can wipe down the area around your nipples with alcohol and wait for it to dry. This removes any oils and will help the tape bond!

Just like when using tape for binding, make sure to give it a nice rub to help the adhesive stick too!
The tape should make contact with your skin on every side to ensure your guards will stay in place.
Whether you're using the pre-made guards or hand-made, make sure you're covering all of the sensitive skin!

After you've applied both of your guards, you're officially ready to tape your chest!
Woo!
If you're new to TransTape and are looking for another how-to, follow this link for my step by step!
Happy taping, everyone!
Ta-Da!
Hopefully this has helped clear up any questions or confusion about nipple guards!
Providing some type of protection for your nipples is absolutely crucial for a comfortable and ideal binding experience with TransTape.
They are so important that a 10 pack comes with every box of tape!

If you ever run out of nipple guards before your roll of tape, you can order them separately or make them yourself following the steps above.
I wore TransTape one time without nipple guards and it was the last time! Don't risk it for the biscuit, it's not a good time!
All jokes and good times aside, take care of your body, not just when taping, and protect that sensitive skin of yours.
Until next time,
Stay awesome,
Stay beautiful,
Stay you.
You are loved and it gets better.
Talk to you soon,
Jamie

Welcome to the cool kids club!
My name is Jamie and I'm a young (ish) transman born and raised in the Hudson Valley of New York state. I started my transition in May of 2017 and since then, I've made it my mission to live unapologetically as myself and spread awareness through my pursuit of happiness. I am the creator and writer of Spilling T blog, a proud affiliate of TransTape and when I'm not outside with the best dog ever or hanging out with my two cats, I make and sell my own beard care products through Buckaroo's Beard Care. I'm always looking for my next adventure and have been skydiving, road-tripping, hiking in the mountains and even served for a short time in the United States Marine Corps. My life has had its fair share of twists and turns and I hope to use those experiences to create helpful and relatable content that may help someone else navigate a difficult time in life.
Beards, Socials, Tape and Writing

