CHEST MASCULINIZATION
TransTape is made from a blend of 95% cotton and 5% spandex with a medical grade acrylic adhesive. It is latex-free and non-medicated, making it hypoallergenic. With this said, however, you may experience irritation, itching or redness or blistering after wearing TransTape. We recommend placing a small piece on the inside of your forearm with zero tension, then wait a FULL 24 HOURS to see if your skin reacts. If not, you can continue to use TransTape.

STEP 1: For best adhesive properties, start with fresh, clean skin, free of lotions or oils. Wash with a non-moisturizing soap; rinse well. (You may need to shave hair if excessive, quarter inch trim is okay)
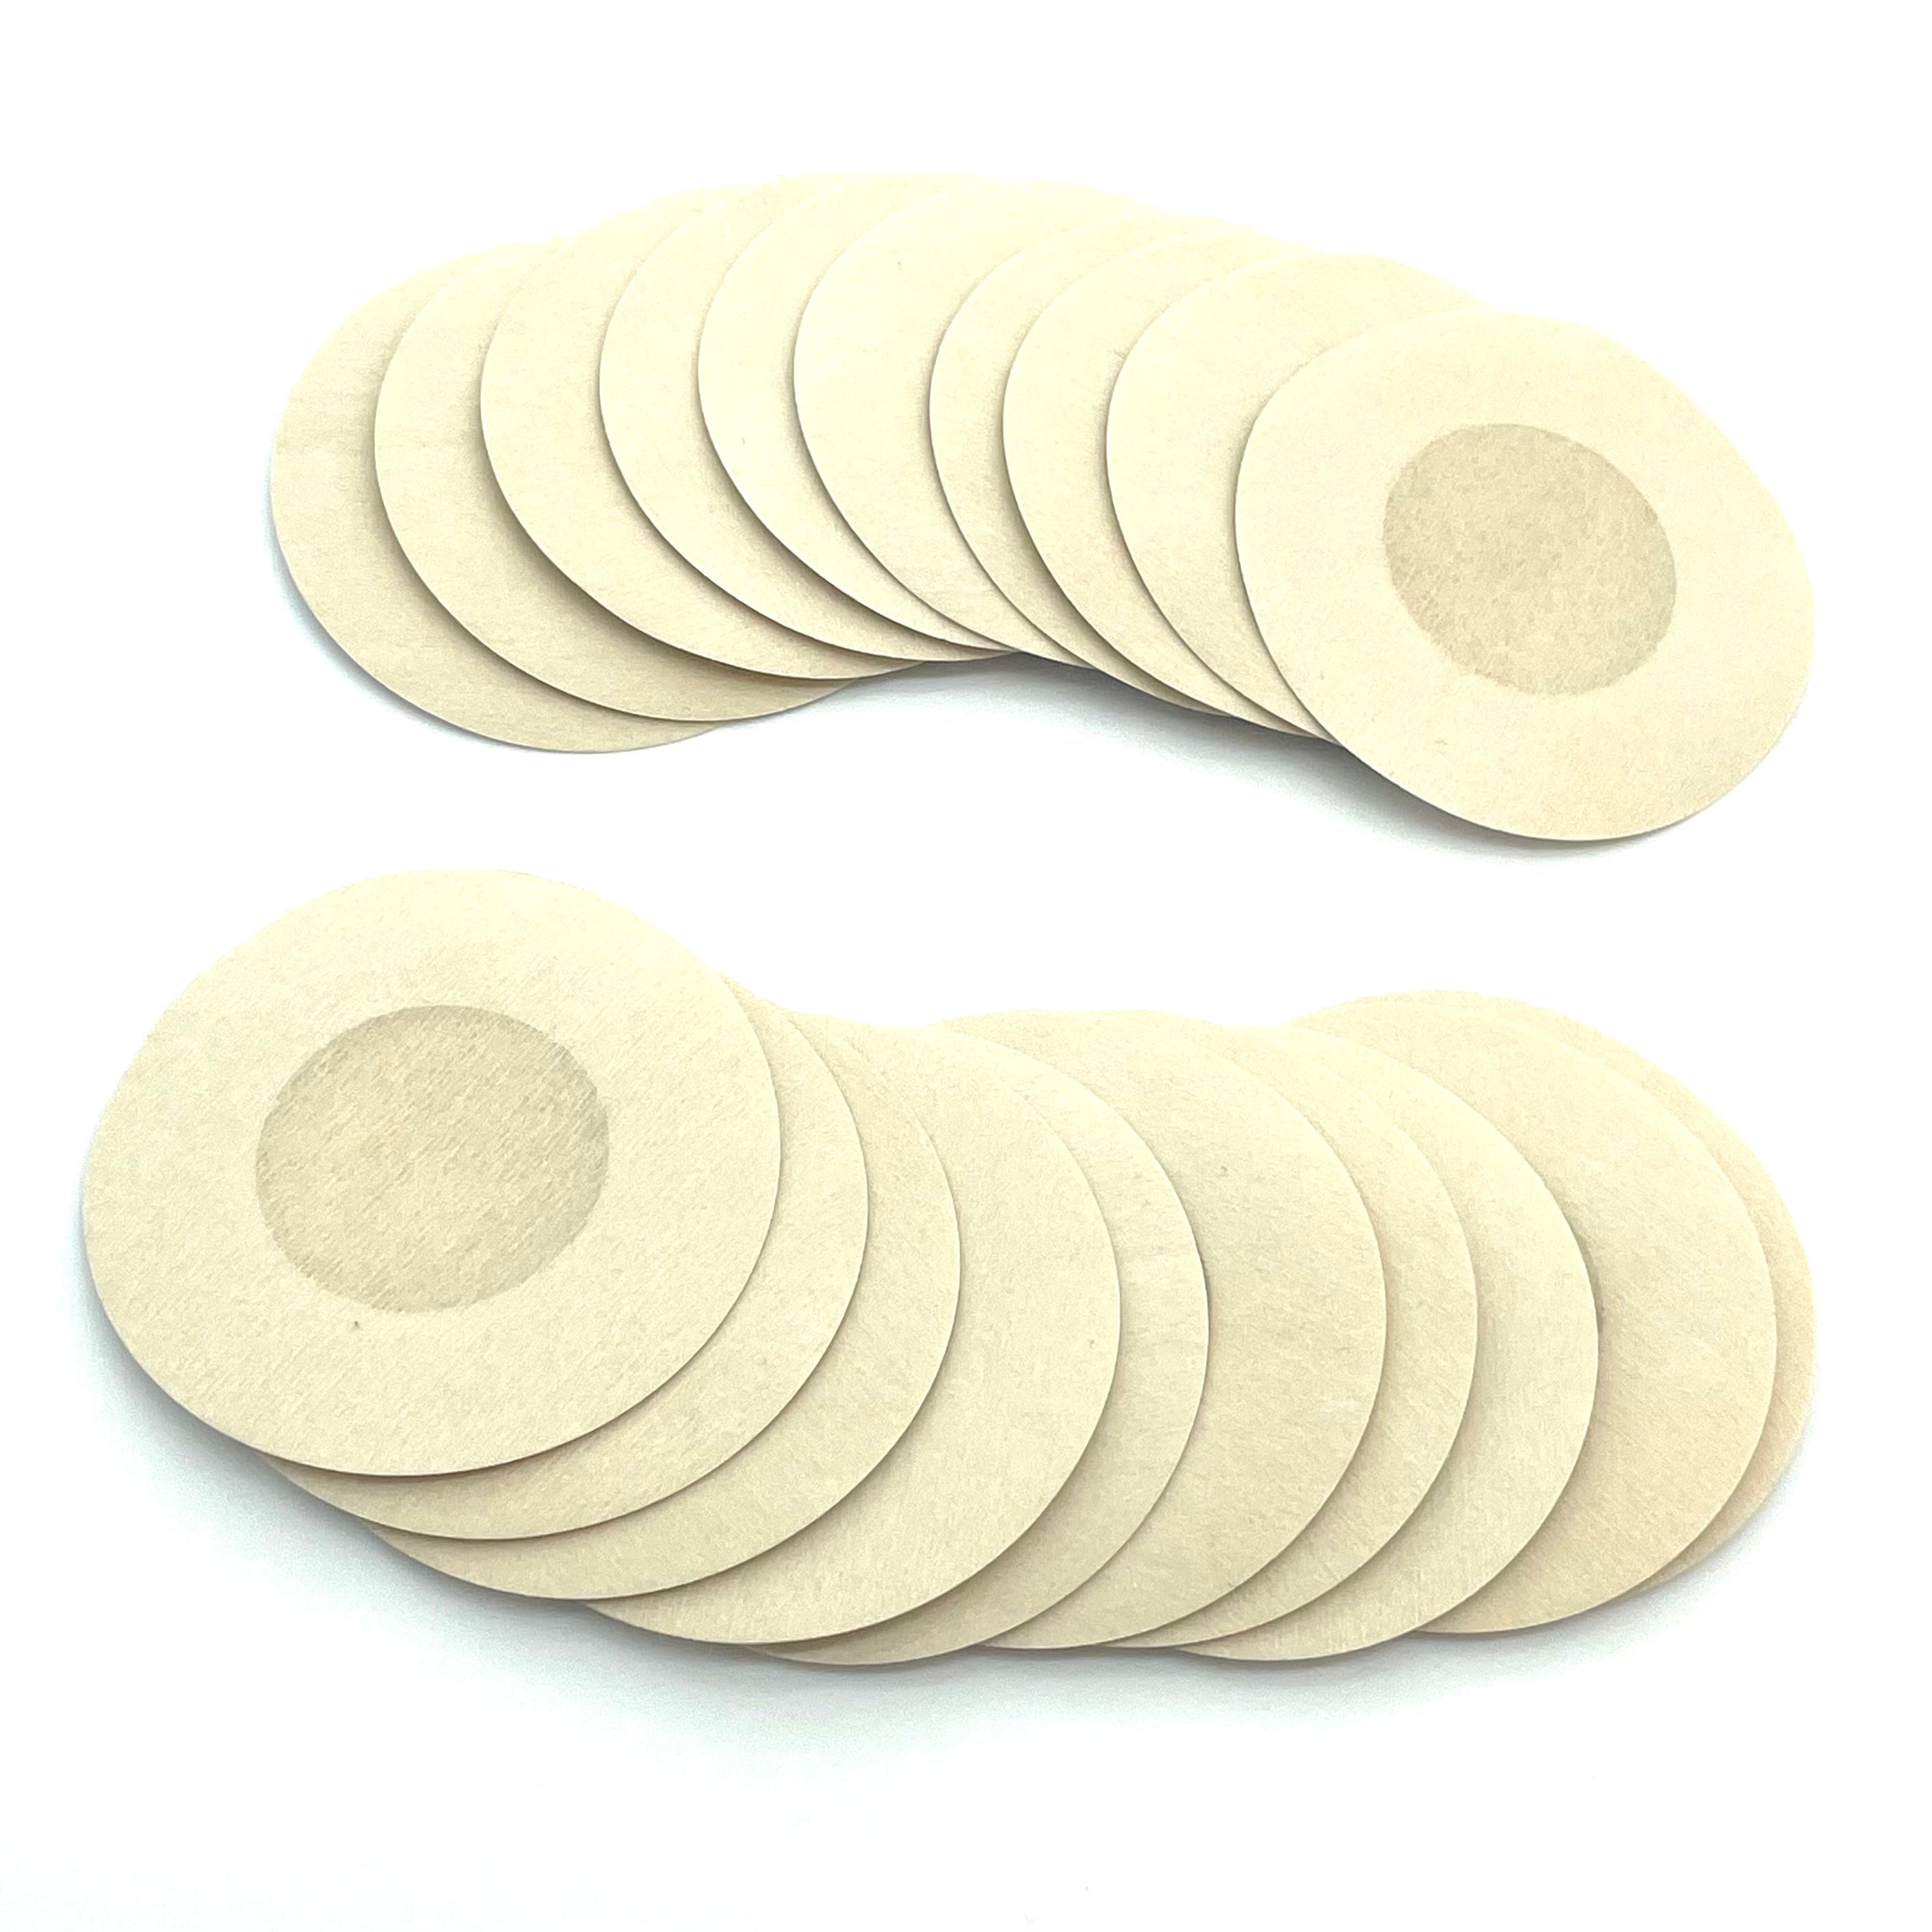
STEP 2: Make nipple covers. NEVER apply TransTape directly over nipple skin. ALWAYS wear a bandage or make a nipple cover using a short strip of TransTape and a toilet paper square. Cut 2 short strips, round the corners with scissors. Tear the protective paper in 2 places and discard the middle piece. Fold a square of toilet paper in 3rds, then in 3rds again; creating a pad. Stick the pad in the center of your strip. Repeat so there are 2, apply with zero stretch.
STEP 3: Choose the size or sizes that will work best for YOUR body. Cut all strips to size, then round the corners with scissors to avoid curling up on the edges and to create a more contoured look. TransTape will stretch a lot, so start shorter than you think. We suggest starting with 3-4 sections (dark blue lines) and adjusting from there. For a smaller build, use 3 sections, medium build 3.5-4 sections and for large and plus size start with 4 and adjust from there. You don’t want it to stretch onto your back, jut under your armpit. You should only need 2 pieces per side, 3 max. Less is better.
STEP 4: With your thumbs and index fingers, take your first strip at the first dark line, tear the protective paper, leaving it attached to your TransTape. If you are using multiple sizes and pieces, take your widest strip first. Remove the first section and discard. Peel back the second section, leaving the paper attached; fold and crease. This will create a handle so that you don’t touch the sticky part, lessening the adhesive. Repeat this process with all of your strips.
STEP 5: Divide your chest into sections starting at the center of your collar bone, down through your sternum and then again from the center of your breast bone to each shoulder on an angle (you may use an eyeliner pencil or washable marker to help create a visual line until you get the hang of it) Keep this area free of tape; this will allow you to wear open chest shirts and will create the illusion of being bare-chested.
STEP 6: Push your breast tissue down and back with your hand. Line up your first piece with the section you have created, outside of your “open chest” area. Gently lay the first 2 inches of TransTape on your skin and lightly rub to activate the adhesive. Taking your time, line up your breast tissue so that it may all get tucked into the tape. Taking care not to overhandle your TransTape, as this will lessen the adhesive. Hold your TransTape taught, avoiding any wrinkles. Push your breast tissue flat, guiding the tape into place. Once you have found a comfortable place for your tissue to rest under your armpit area, remove the final piece of protective paper and smoothly lay the tape with zero tension. Rub the TransTape vigorously, creating friction to activate the adhesive.
STEP 7: At this point you may look a little silly and need a second piece to smooth things out. Take your second strip and prepare it like the first. Apply the second strip a few inches back from the first, overlapping to create flatness. Again, push the tissue out of the way with your hand and secure the fat with TransTape. Make sure that the second strip surpasses the first, ensuring skin contact. TransTape will not stick to itself and will curl up easily if not attached to the skin properly. Repeat this process on the other side. Comfort is the goal. Make sure you can breathe and move comfortably, if you cannot, something was done incorrectly. You may add an additional piece going vertically under your armpit, covering the ends of the strips for more security

TransTape Tips and Tricks
APPLYING:
EVERY body is different, therefore every application of TransTape will be different and as our bodies develop more into the way we want, our own applications will change too. That’s what’s so great about TransTape. As we change, it will change with us. Here are some helpful hints our creators and users have found to work for them.
ALWAYS practice safe binding techniques with TransTape and all binding methods
ALWAYS cover your nipples, they tend to be a sensitive area.
NEVER wrap TransTape all the way around the chest and back. Wrapping all the way or too tightly can/will cause breathing issues, organ failure, or skin irritation
NEVER stretch skin or TransTape tightly; you want to give the appearance of pectoral muscles, no one is truly flat
When applying TransTape, make sure the skin is free of lotions and oils, as this will loosen the adhesion
If applying more than 1 strip, make sure the second strip is long enough to surpass the first strip. There must be complete skin contact for TransTape to last multiple days of wear
Try not raising your arm up while laying TransTape under your armpit. This causes the skin to stretch when taped. When the arm is lowered back down the TransTape will have a wrinkled appearance causing blisters and irritation due to over stretching and will be very painful
Always use sharp scissors for the best results. Dull scissors will fray the ends causing TransTape to curl up
DRYING:
Either after swimming or showering you may want to dry your TransTape off. We recommend wiping from the center of the nipple outwards towards the armpit and sternum. Avoid rubbing in a back and forth motion as this will cause the corners to curl up, collect lint and lose adhesion
Use a hairdryer on cool or low heat to dry TransTape quickly or lightly pat with a towel and let air dry
REMOVING:
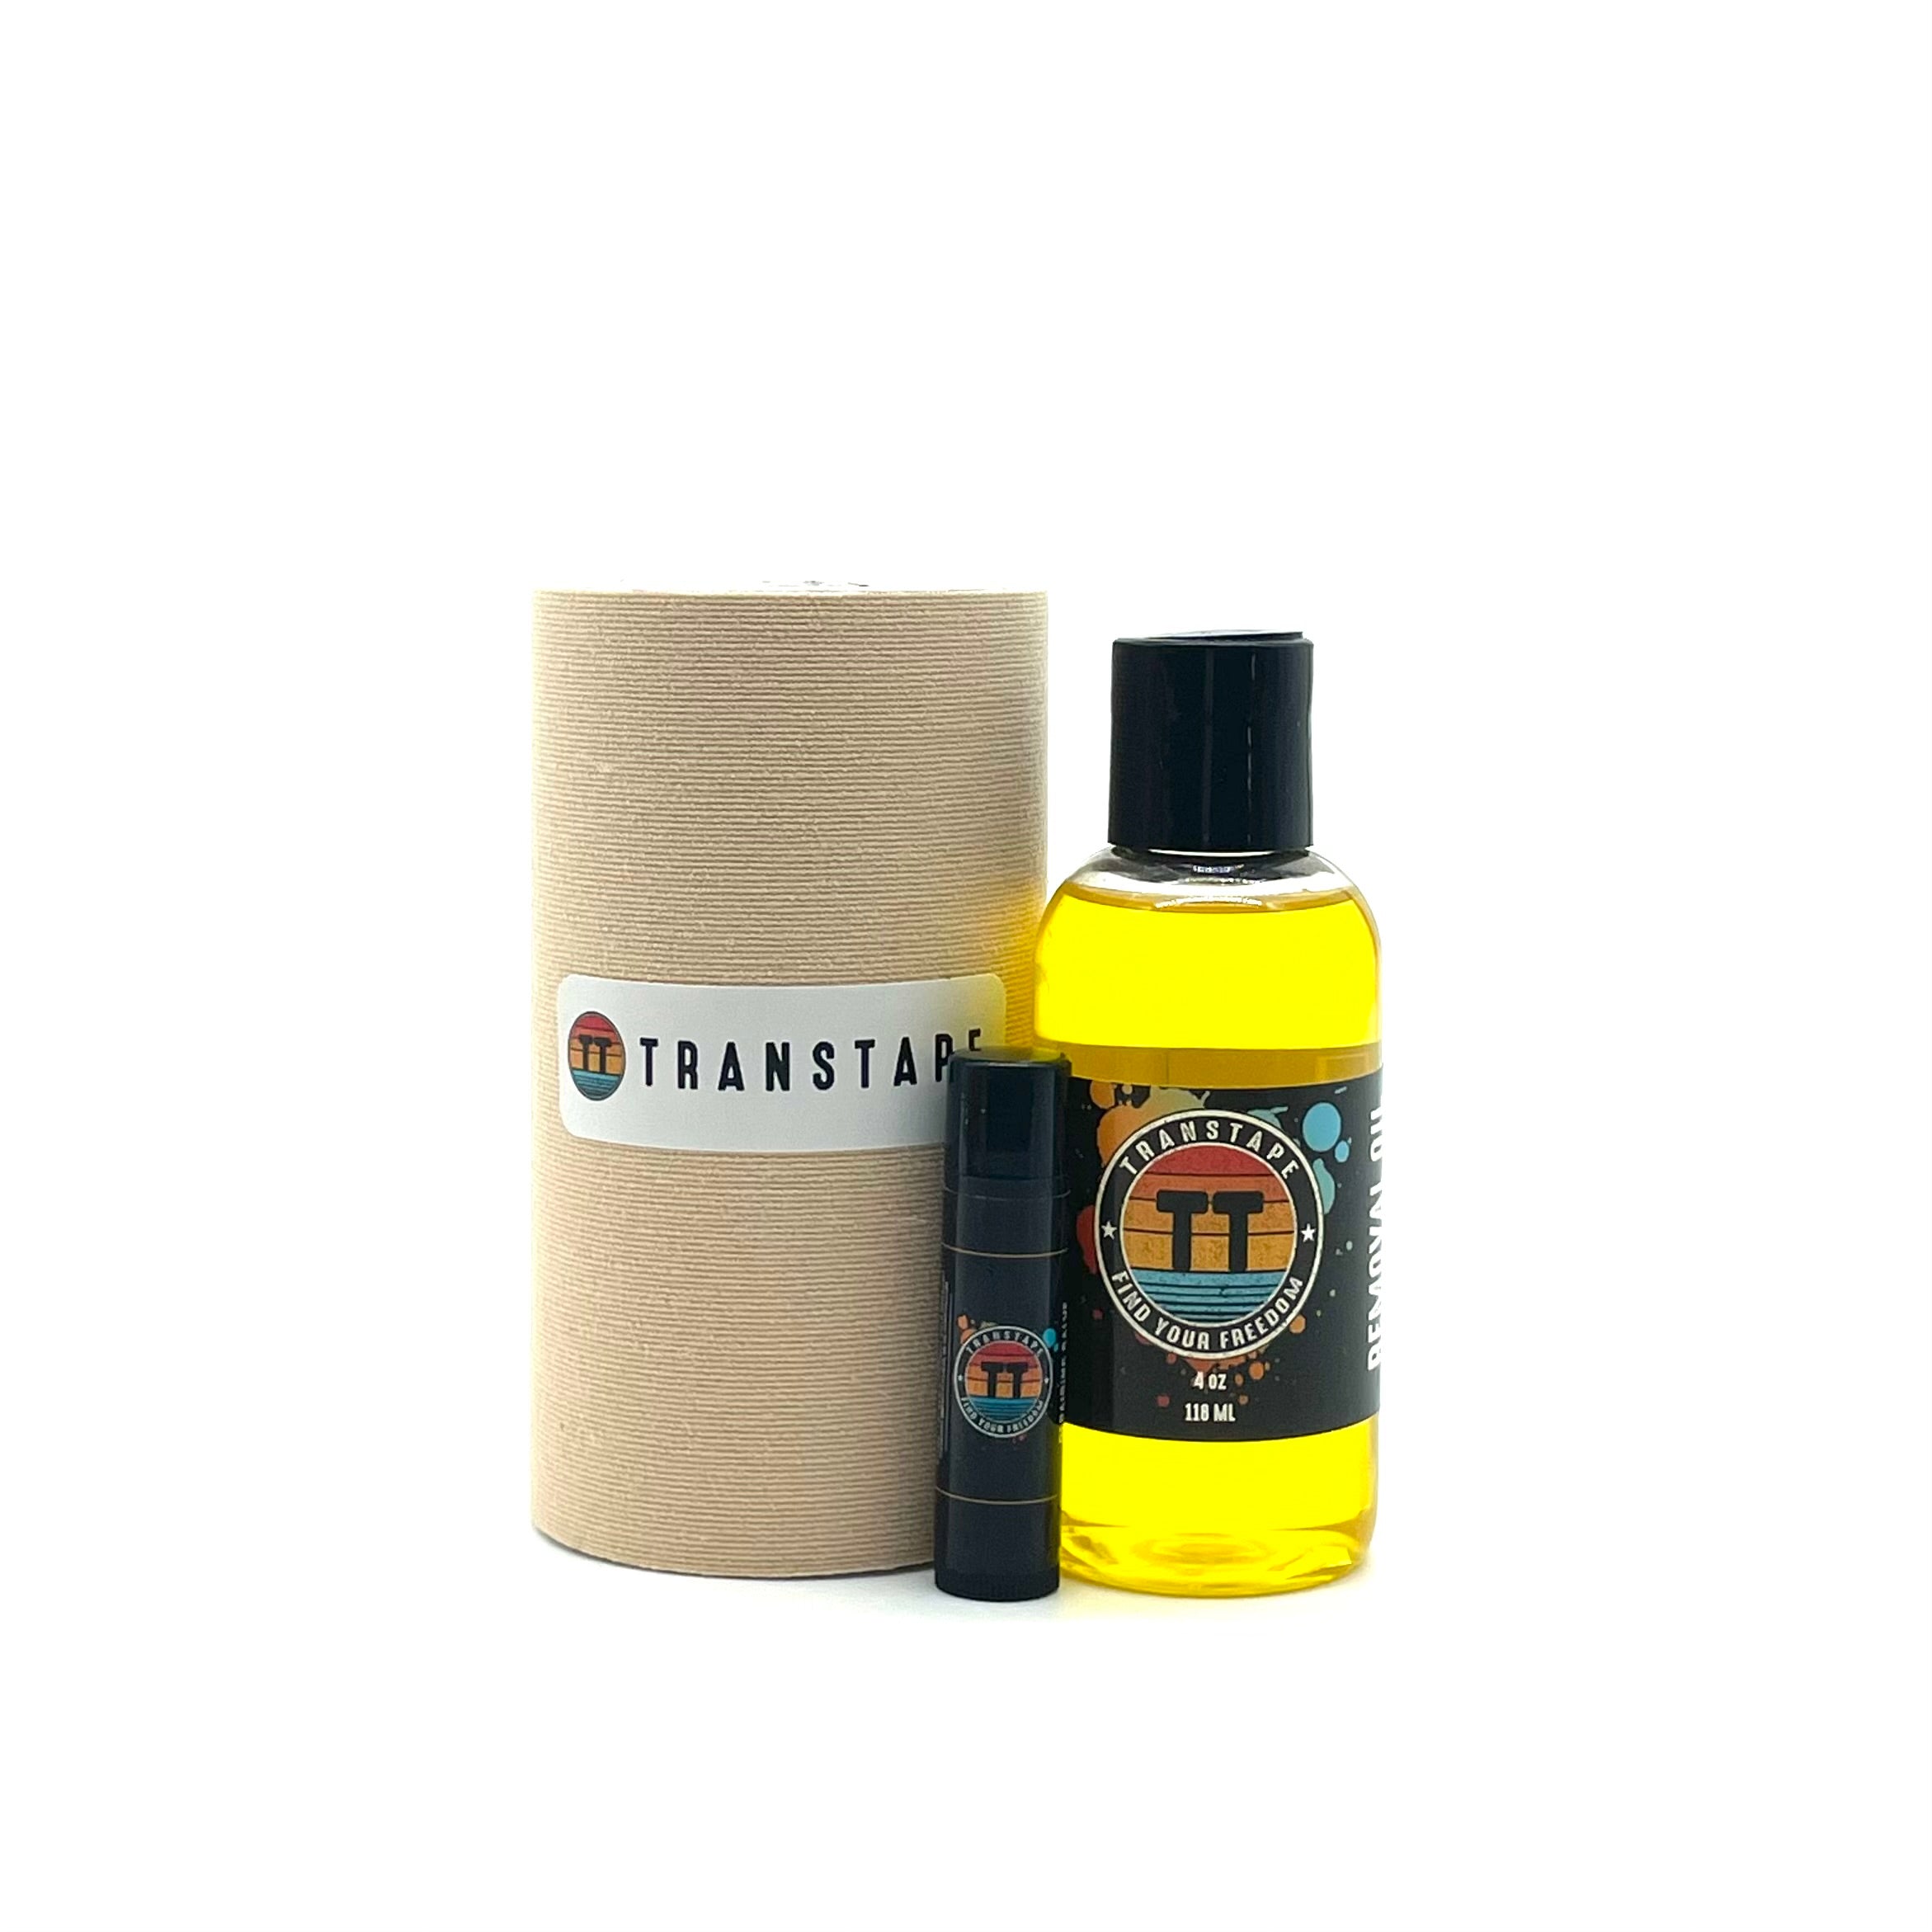
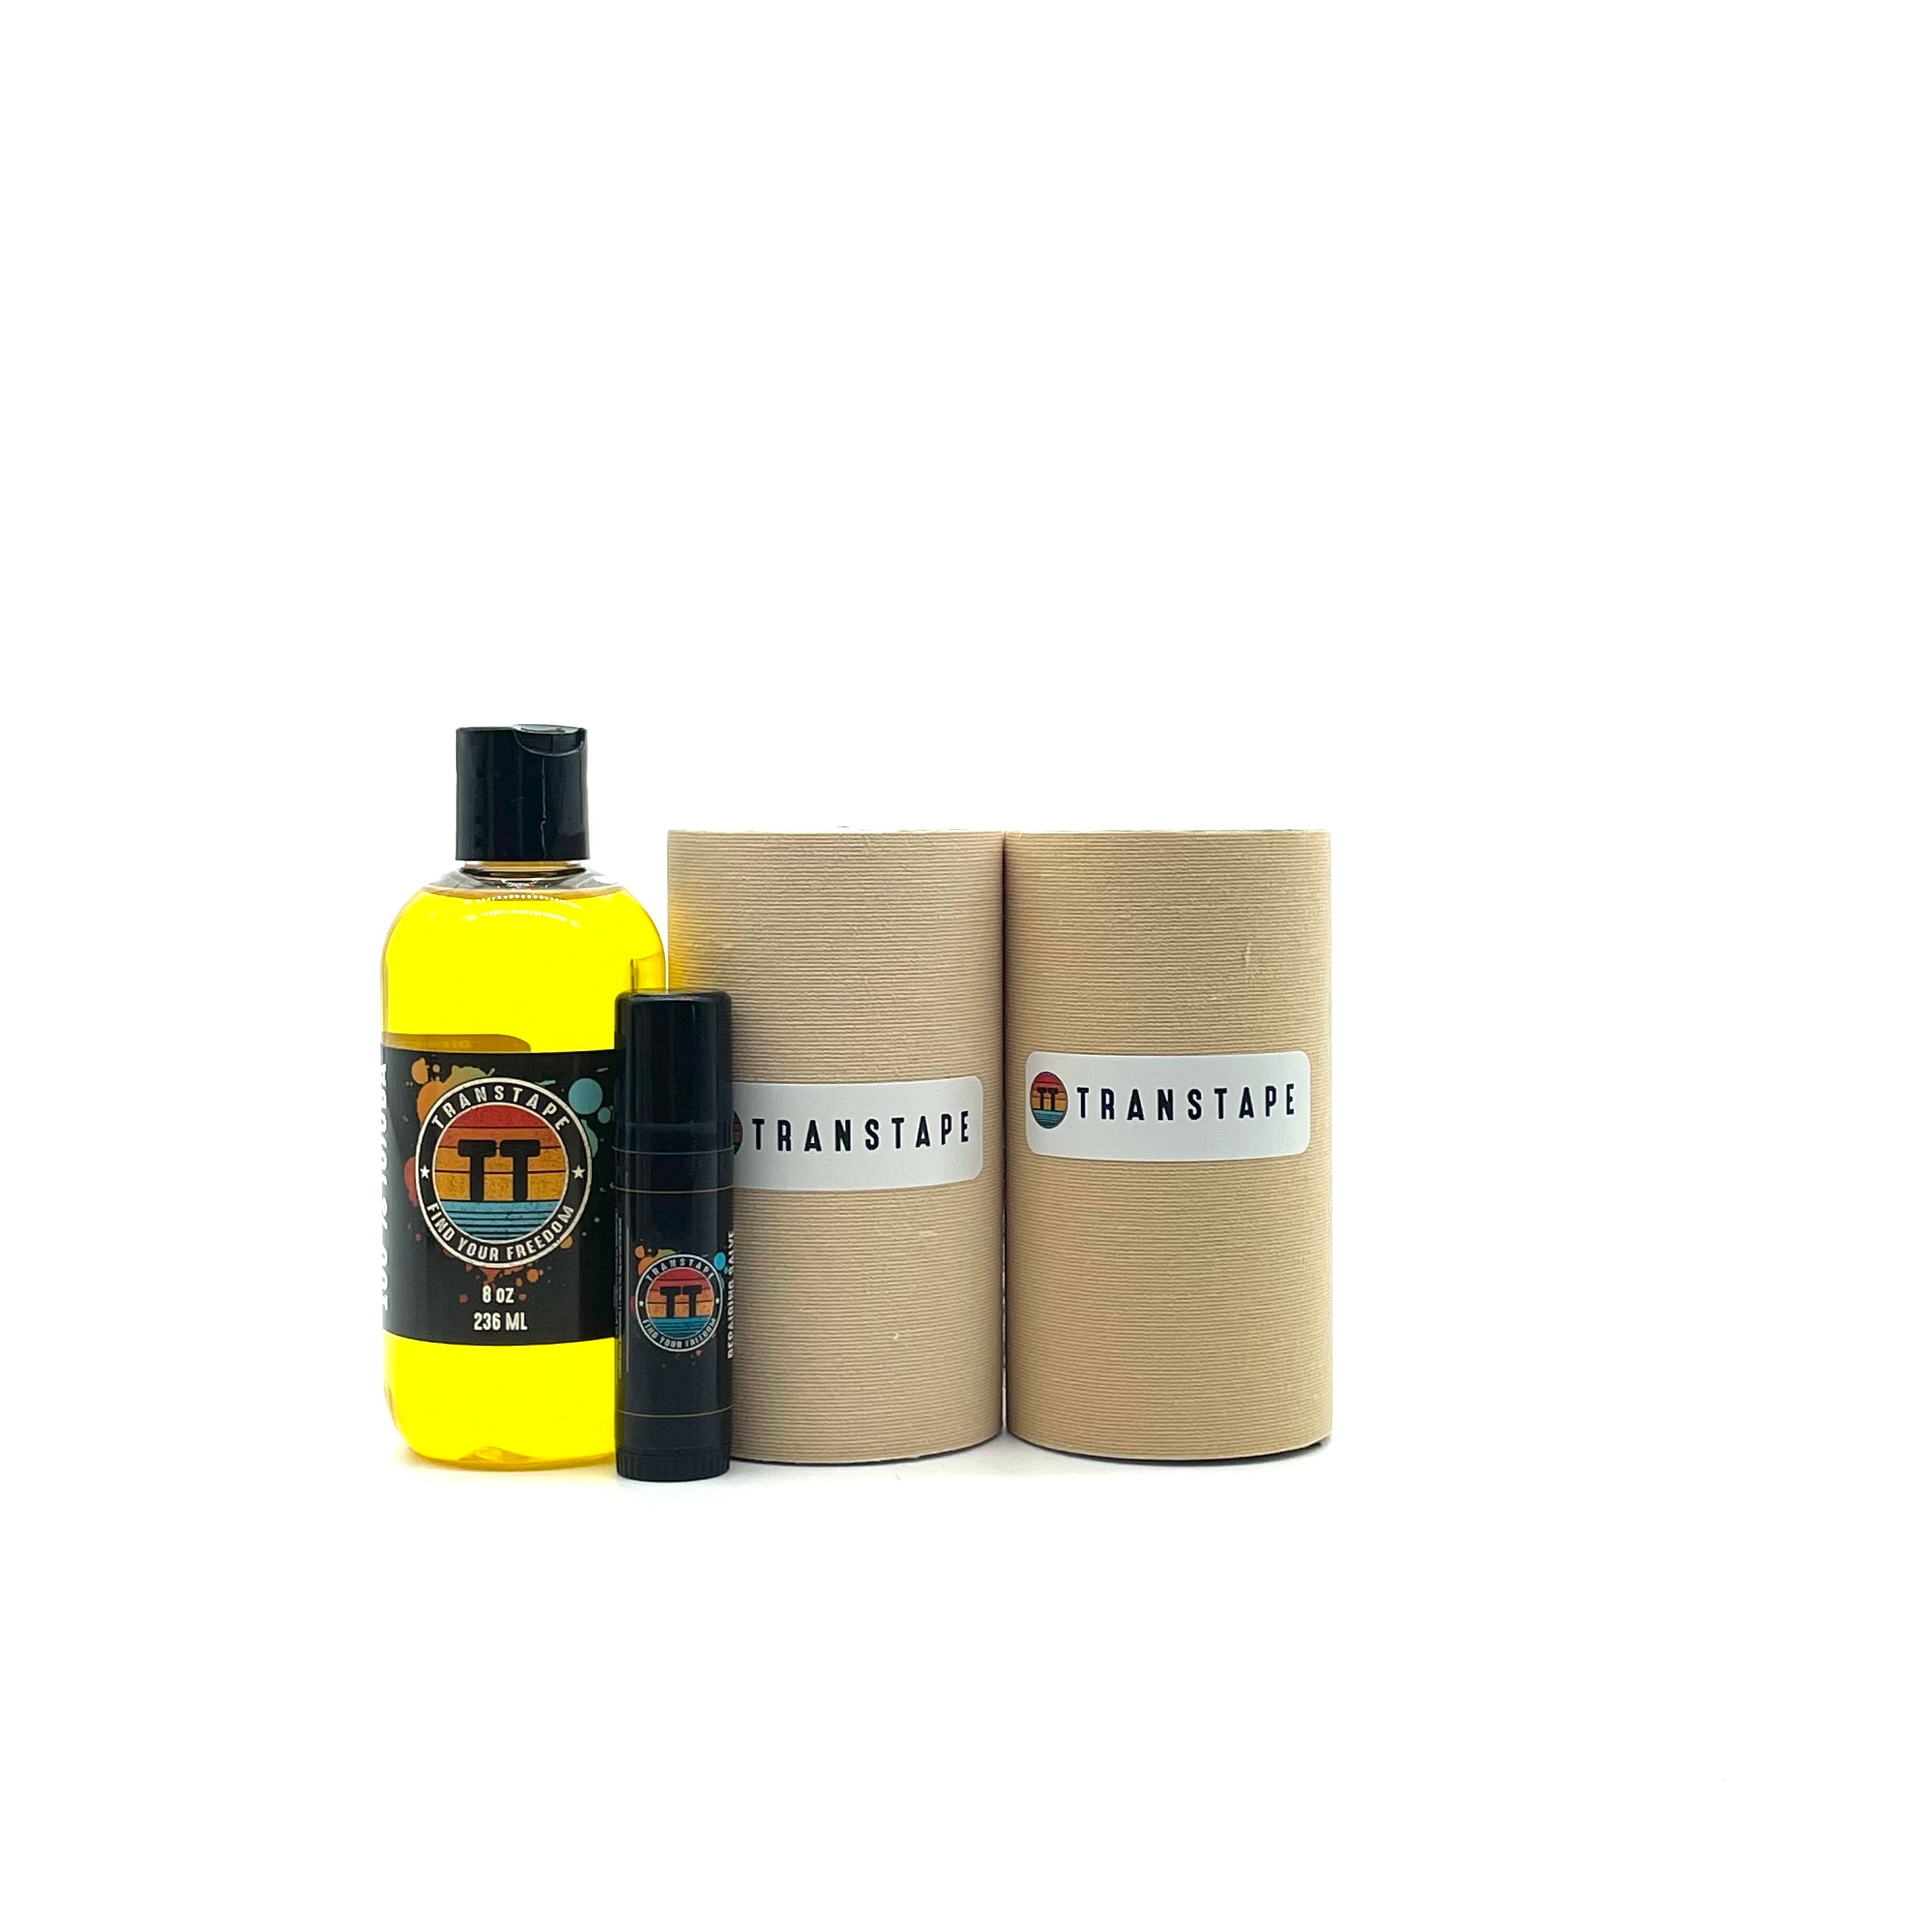
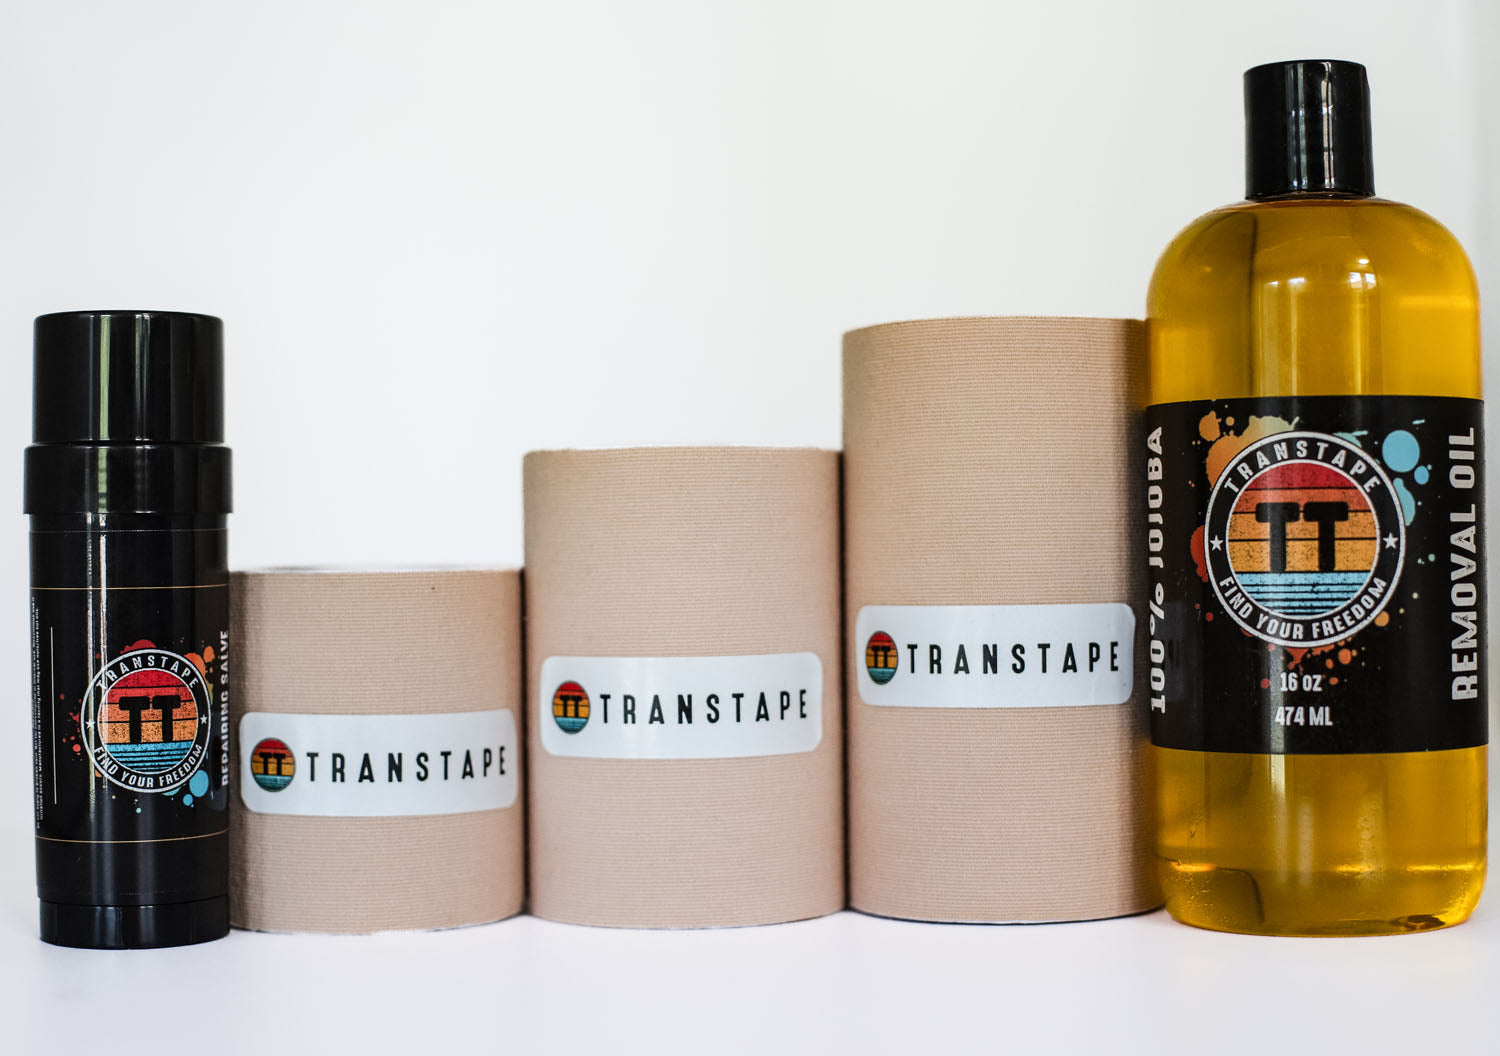
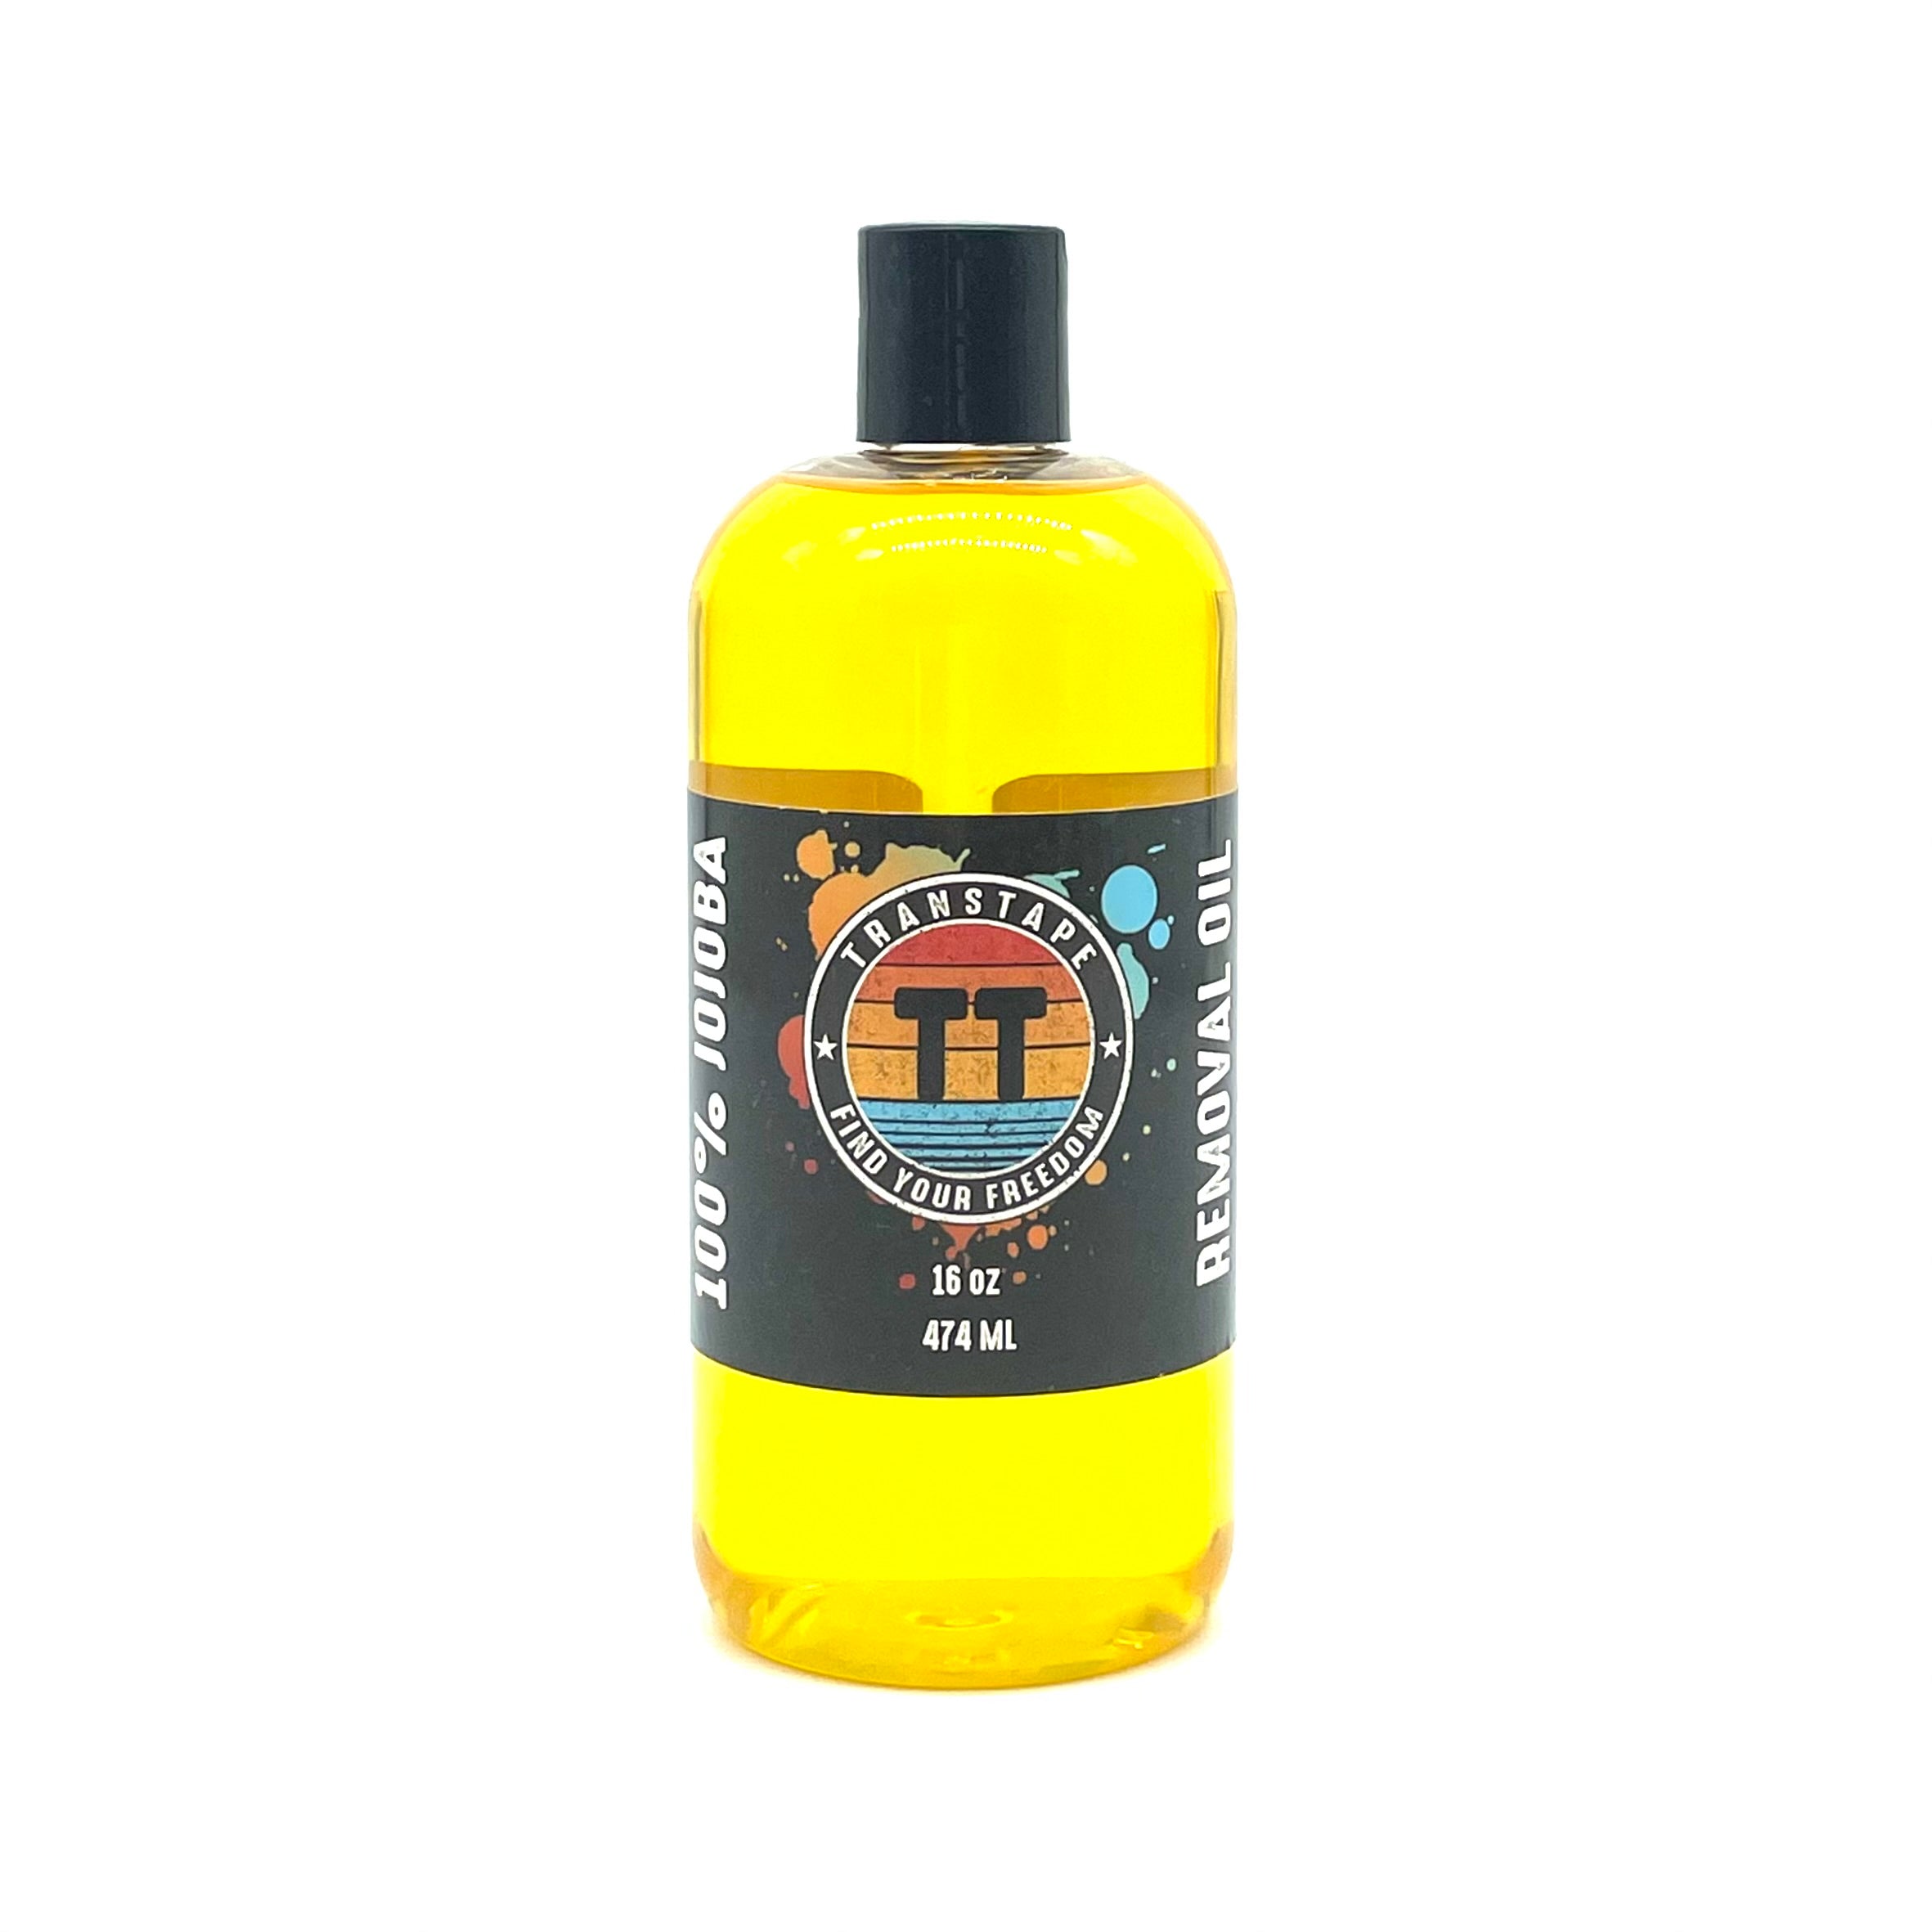
Take special care when removing TransTape. Our adhesive was designed to withstand multiple days of wear with water use, regular showering and heavy activity, dirt and sweat involved. We recommend rubbing TransTape with oil and removing TransTape in the shower with hot water.
Always pull TransTape in the direction that it was adhered; if you apply from nipple to armpit, remove nipple to armpit.
As you put tension on TransTape, simultaneously rub the adhesive side with oil to loosen the connection with the skin
Go slow! Ripping fast does not save you from any pain, it makes it much worse. By pulling TransTape quickly you are removing layers of delicate skin. It is very important to treat our skin and chest with love and respect if we want our bodies to remain healthy and happy. It is especially important to those of us that do plan to have top surgery that we aren’t abusing our skin but allowing it to restore, rejuvenate and maintain elasticity. Take time to massage your chest with healing oils on your rest nights. Although it is safe to sleep in TransTape, we do recommend a minimum of 2 nights per week that you dedicate as your rest days. We suggest overnight because 1) you won’t have to be awake to experience it 2) it is typically the longest period of time you will go without having to interact with people, and 3) you can oil yourself up and not have to worry about ruining a cool shirt
PROTECTING SENSITIVE SKIN:
If your skin is prone to breakouts and irritation or rashes easily, take extra care for your skin and it will reward you.
Rub or pat the application sight with “Milk of Magnesia” and allow to completely dry. Once dry, wipe off excess with your hand (milk of magnesia may cause adhesion to loosen on the corners, removing the excess may help)
Always remove TransTape slowly to avoid added sensitivity
Coconut oil may be rubbed on the skin after removal of TransTape to soothe and replenish the skin
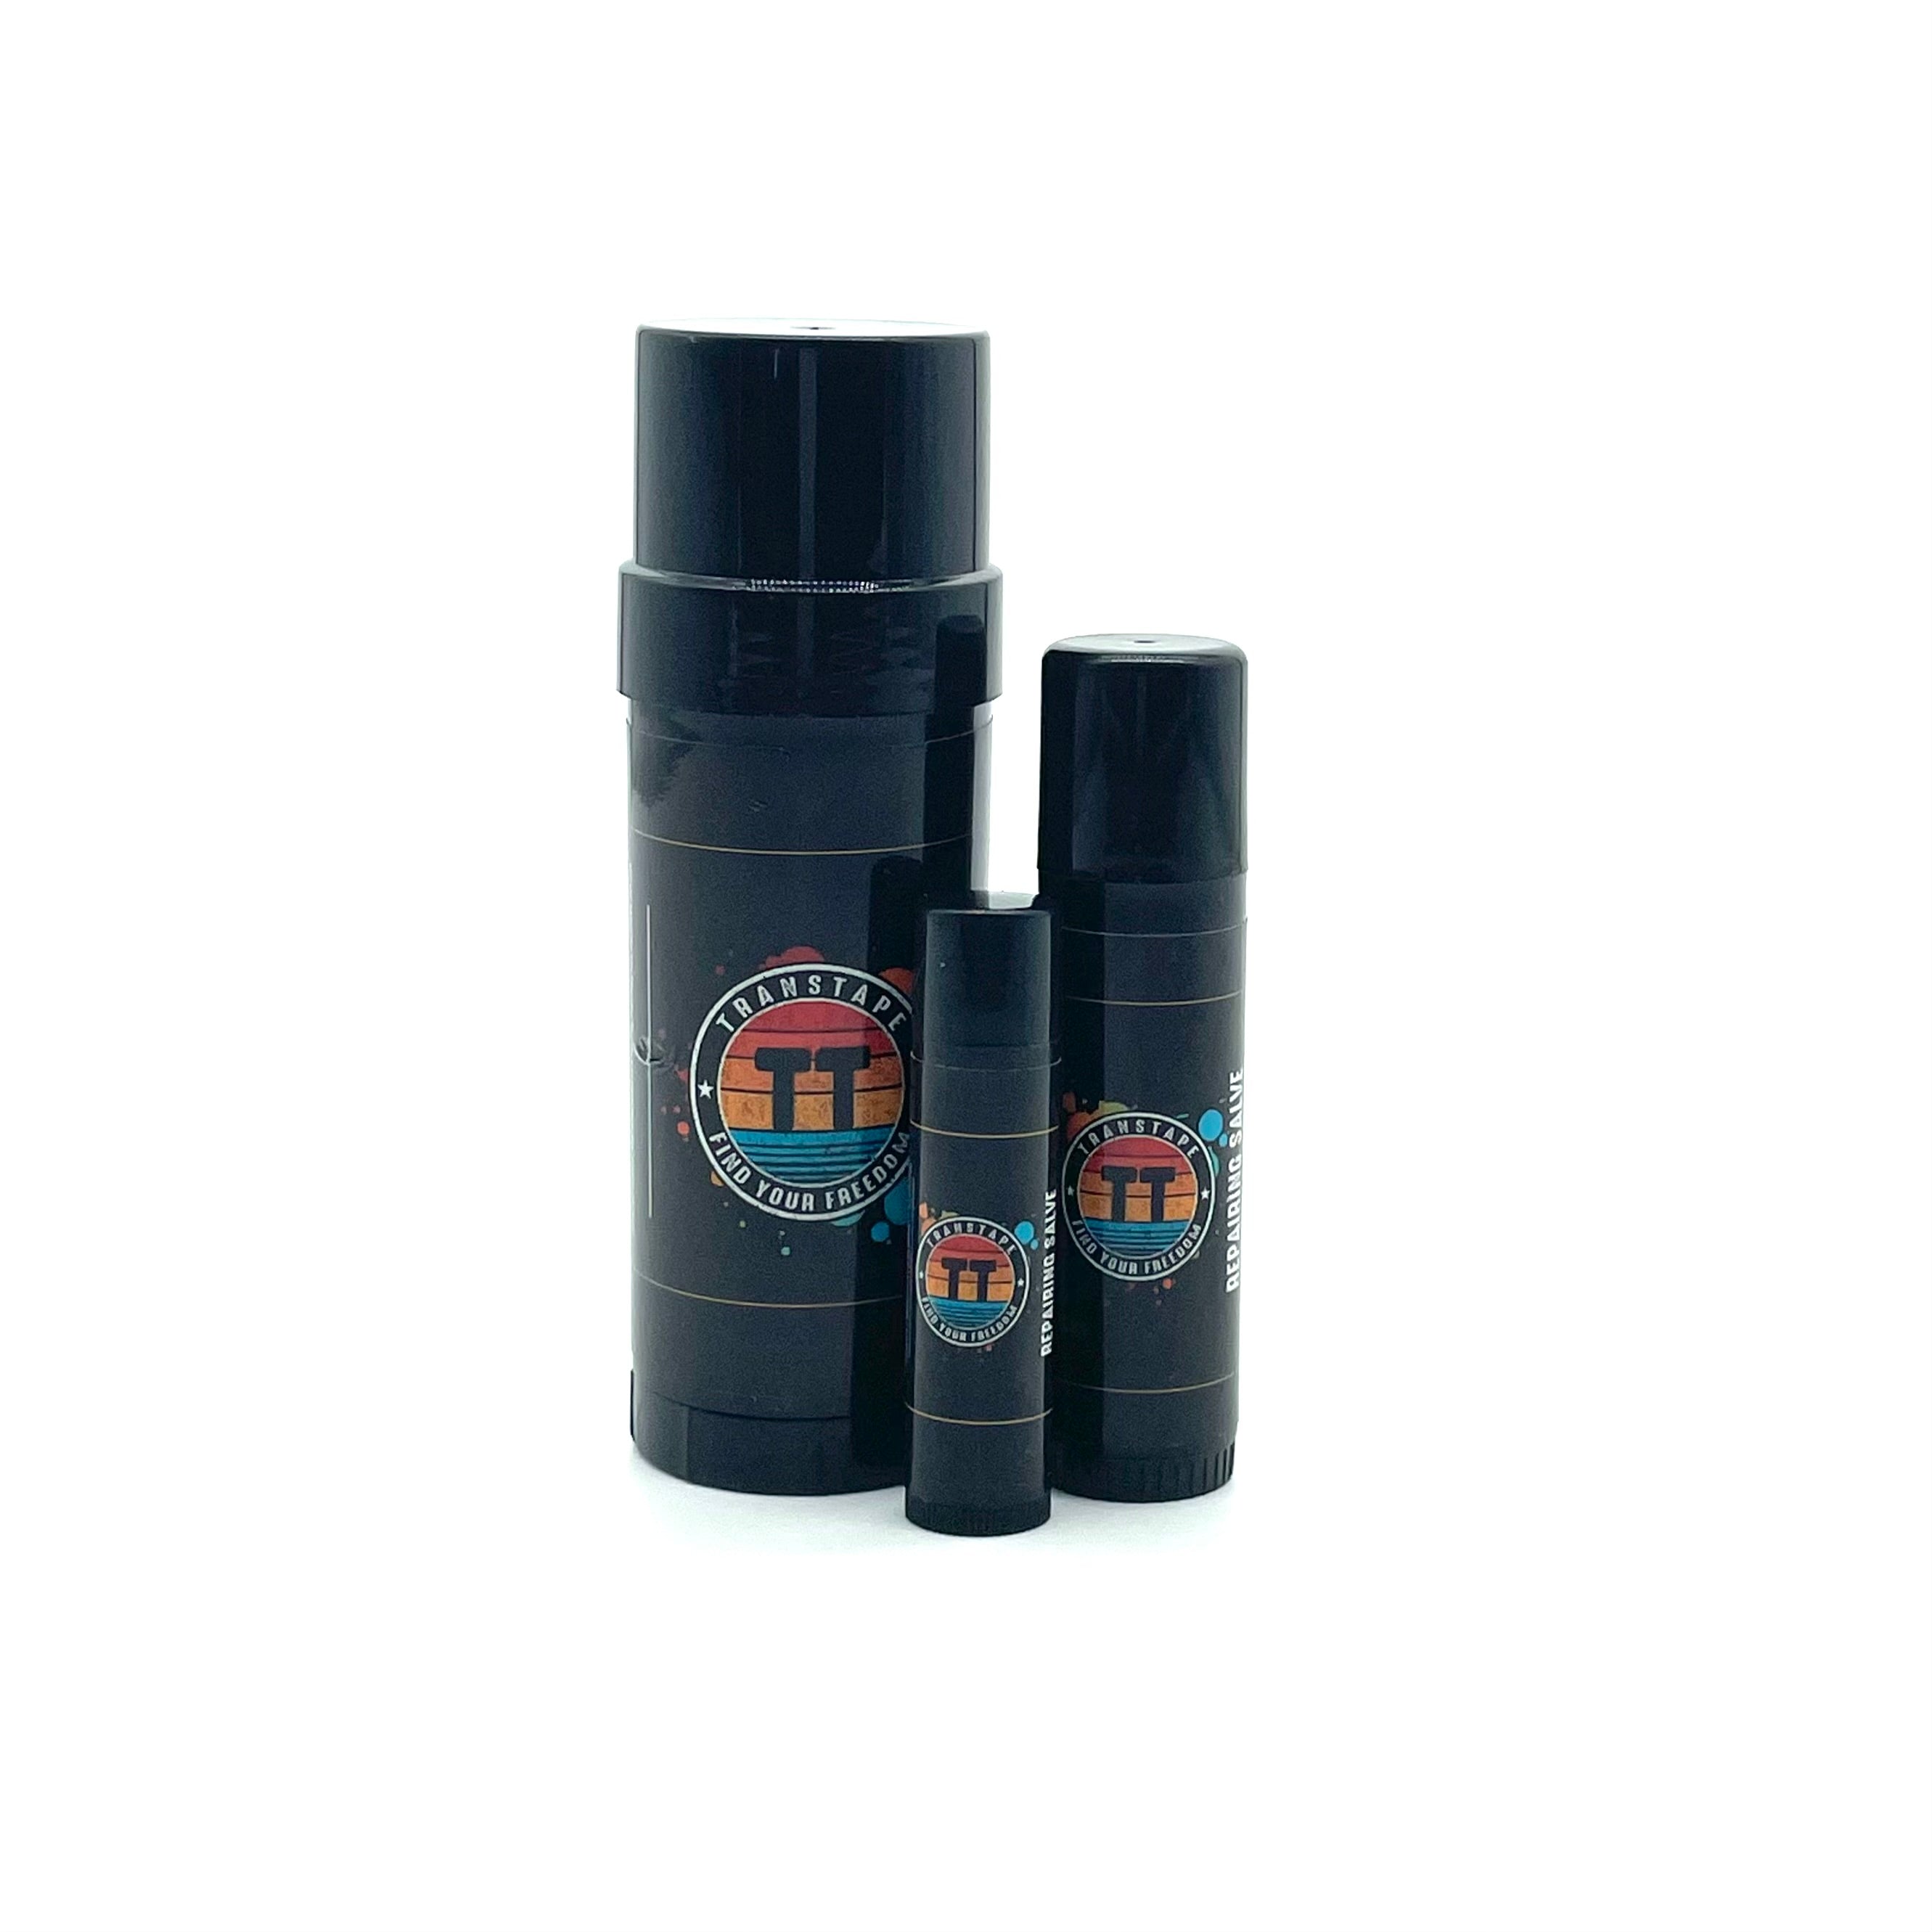
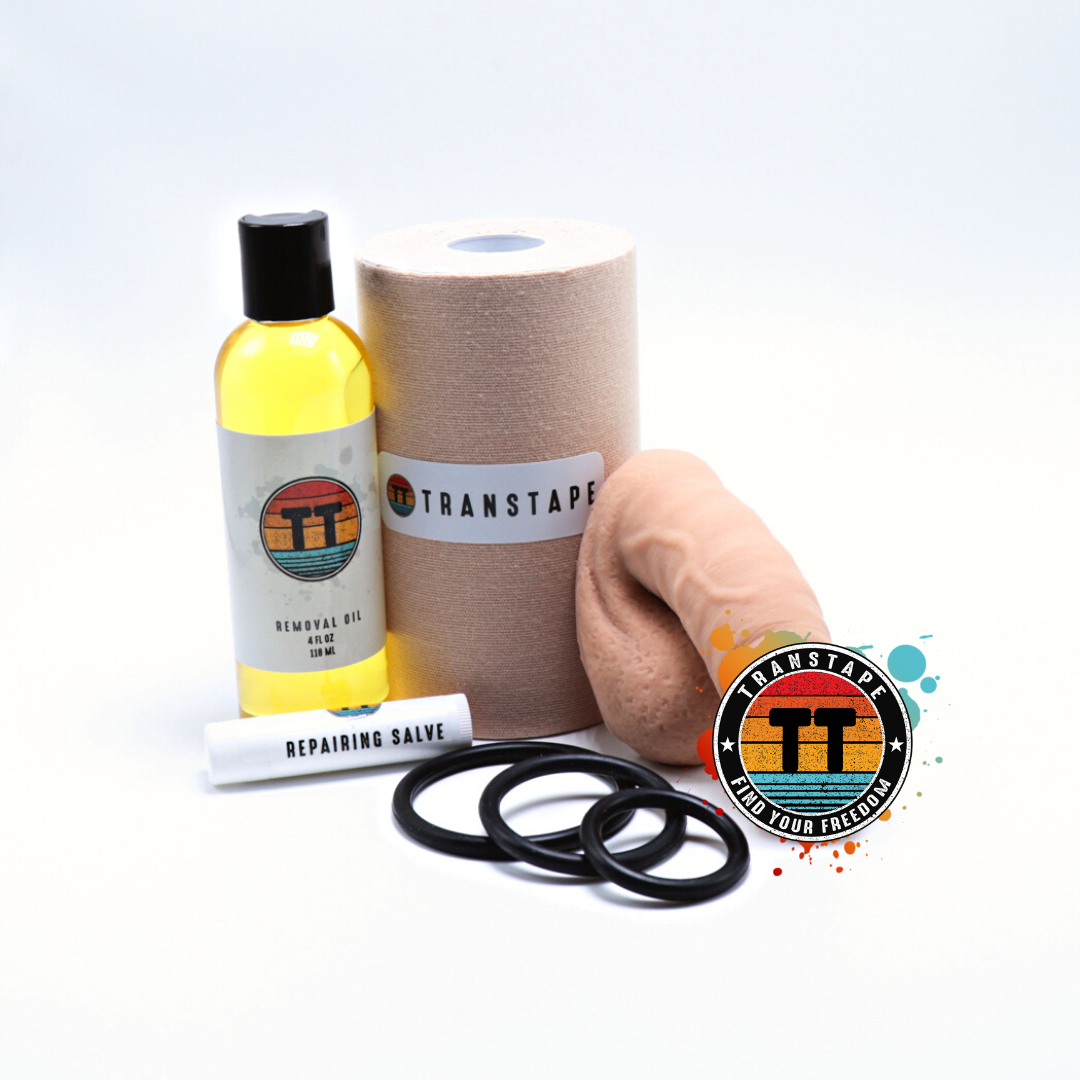
Repairing Salve, or other natural based ointments maybe applied to irritated areas.
What Causes Skin Irritation with TransTape?
All of the leading kinesiology tape brands, including TransTape, use a hypoallergenic acrylic adhesive that is applied to the back of the tape in a wave-like pattern. The effect is that of ‘ridges’ of adhesive that adhere to the skin, with small troughs in between to channel away moisture. As the body moves, the ridges of adhesive pull slightly on the skin’s surface, this is what causes the relief of blood flow and muscle activation that athletes look for with kinesiology tape.
This pulling action may be enough to generate redness or itching in individuals with very sensitive or fragile skin. Other individuals with sensitive skin may do well while the tape is on, but experience irritation and sometimes blistering when the TransTape is removed.
Too Much Stretch in the Tape – When TransTape is applied with a great amount of stretch, it pulls on the skin as it attempts to contract back to its pre-stretched state. If only a small piece of tape is being used, similar to when you make a nipple bandage, this doesn’t usually create a problem. When larger areas of skin are covered with extremely stretched tape, however, the potential for irritation or even blistering is much greater
Solution: Be careful not to overstretch the tape when you apply it. TransTape is already stretched on the paper backing, so an effective stretch can be achieved even when applying with zero-tension. TransTape should not be pulling the skin, just assisting it to stay in place. You should be “hiding” your chest COMFORTABLY on your body (such as under your armpit or down your torso) then using TransTape to smooth out the appearance and secure it into place. Typically, the larger the area being taped, the less additional stretch is necessary during application
Applying the Anchor Ends – The anchor ends of the tape are the final 1-2″ of every strip. When these ends are stretched during application, they will pull on the skin with every movement. After a period of time, this can cause redness, irritation and even blisters
Solution: the anchor ends of TransTape should always be applied with no stretch. Only the body of the application should utilize tape in the 50% stretched position. This will help prevent skin irritation or over-stimulation of the applied area. Regardless of the amount of stretch used in each strip of tape, the final 2″ should always be applied with absolutely no stretch.
Hair Follicle Irritation in Unshaved Areas – The adhesive in TransTape has best results when applied directly to the skin. When the adhesive attaches to the hair follicles, it does not make an even contact with the skin or the hair, causing it to pull at different times, with different motions. This causes extreme discomfort and pain which can result in the skin becoming irritated and can cause TransTape to fall off pre-maturely
Solution: Clip excess amounts of hair close to skin level before applying TransTape. We do not recommend shaving bald to the skin but to leave a slight buffer using an electric razor. If you prefer a close shave, we recommend waiting a day to apply TransTape to allow the skin to regenerate
Skin Irritation on Freshly Shaved Areas – Shaving removes the uppermost layer of skin, exposing fresh skin for the first time. Because this skin hasn’t had time to toughen or desensitize, it is more easily irritated, especially if the area is not shaved regularly.
Solution: To avoid hair follicle irritation from shaving, try clipping the hair close to the skin using and electric razor, rather than shaving. Clipping leaves the top layer of skin intact, decreasing the likelihood of irritation. If you prefer a close shave, we recommend waiting a day to apply TransTape to allow the skin to regenerate
If the above precautions have been taken and skin irritation persists, the following product have been found to be helpful when applied to the skin prior to taping and after removal:

