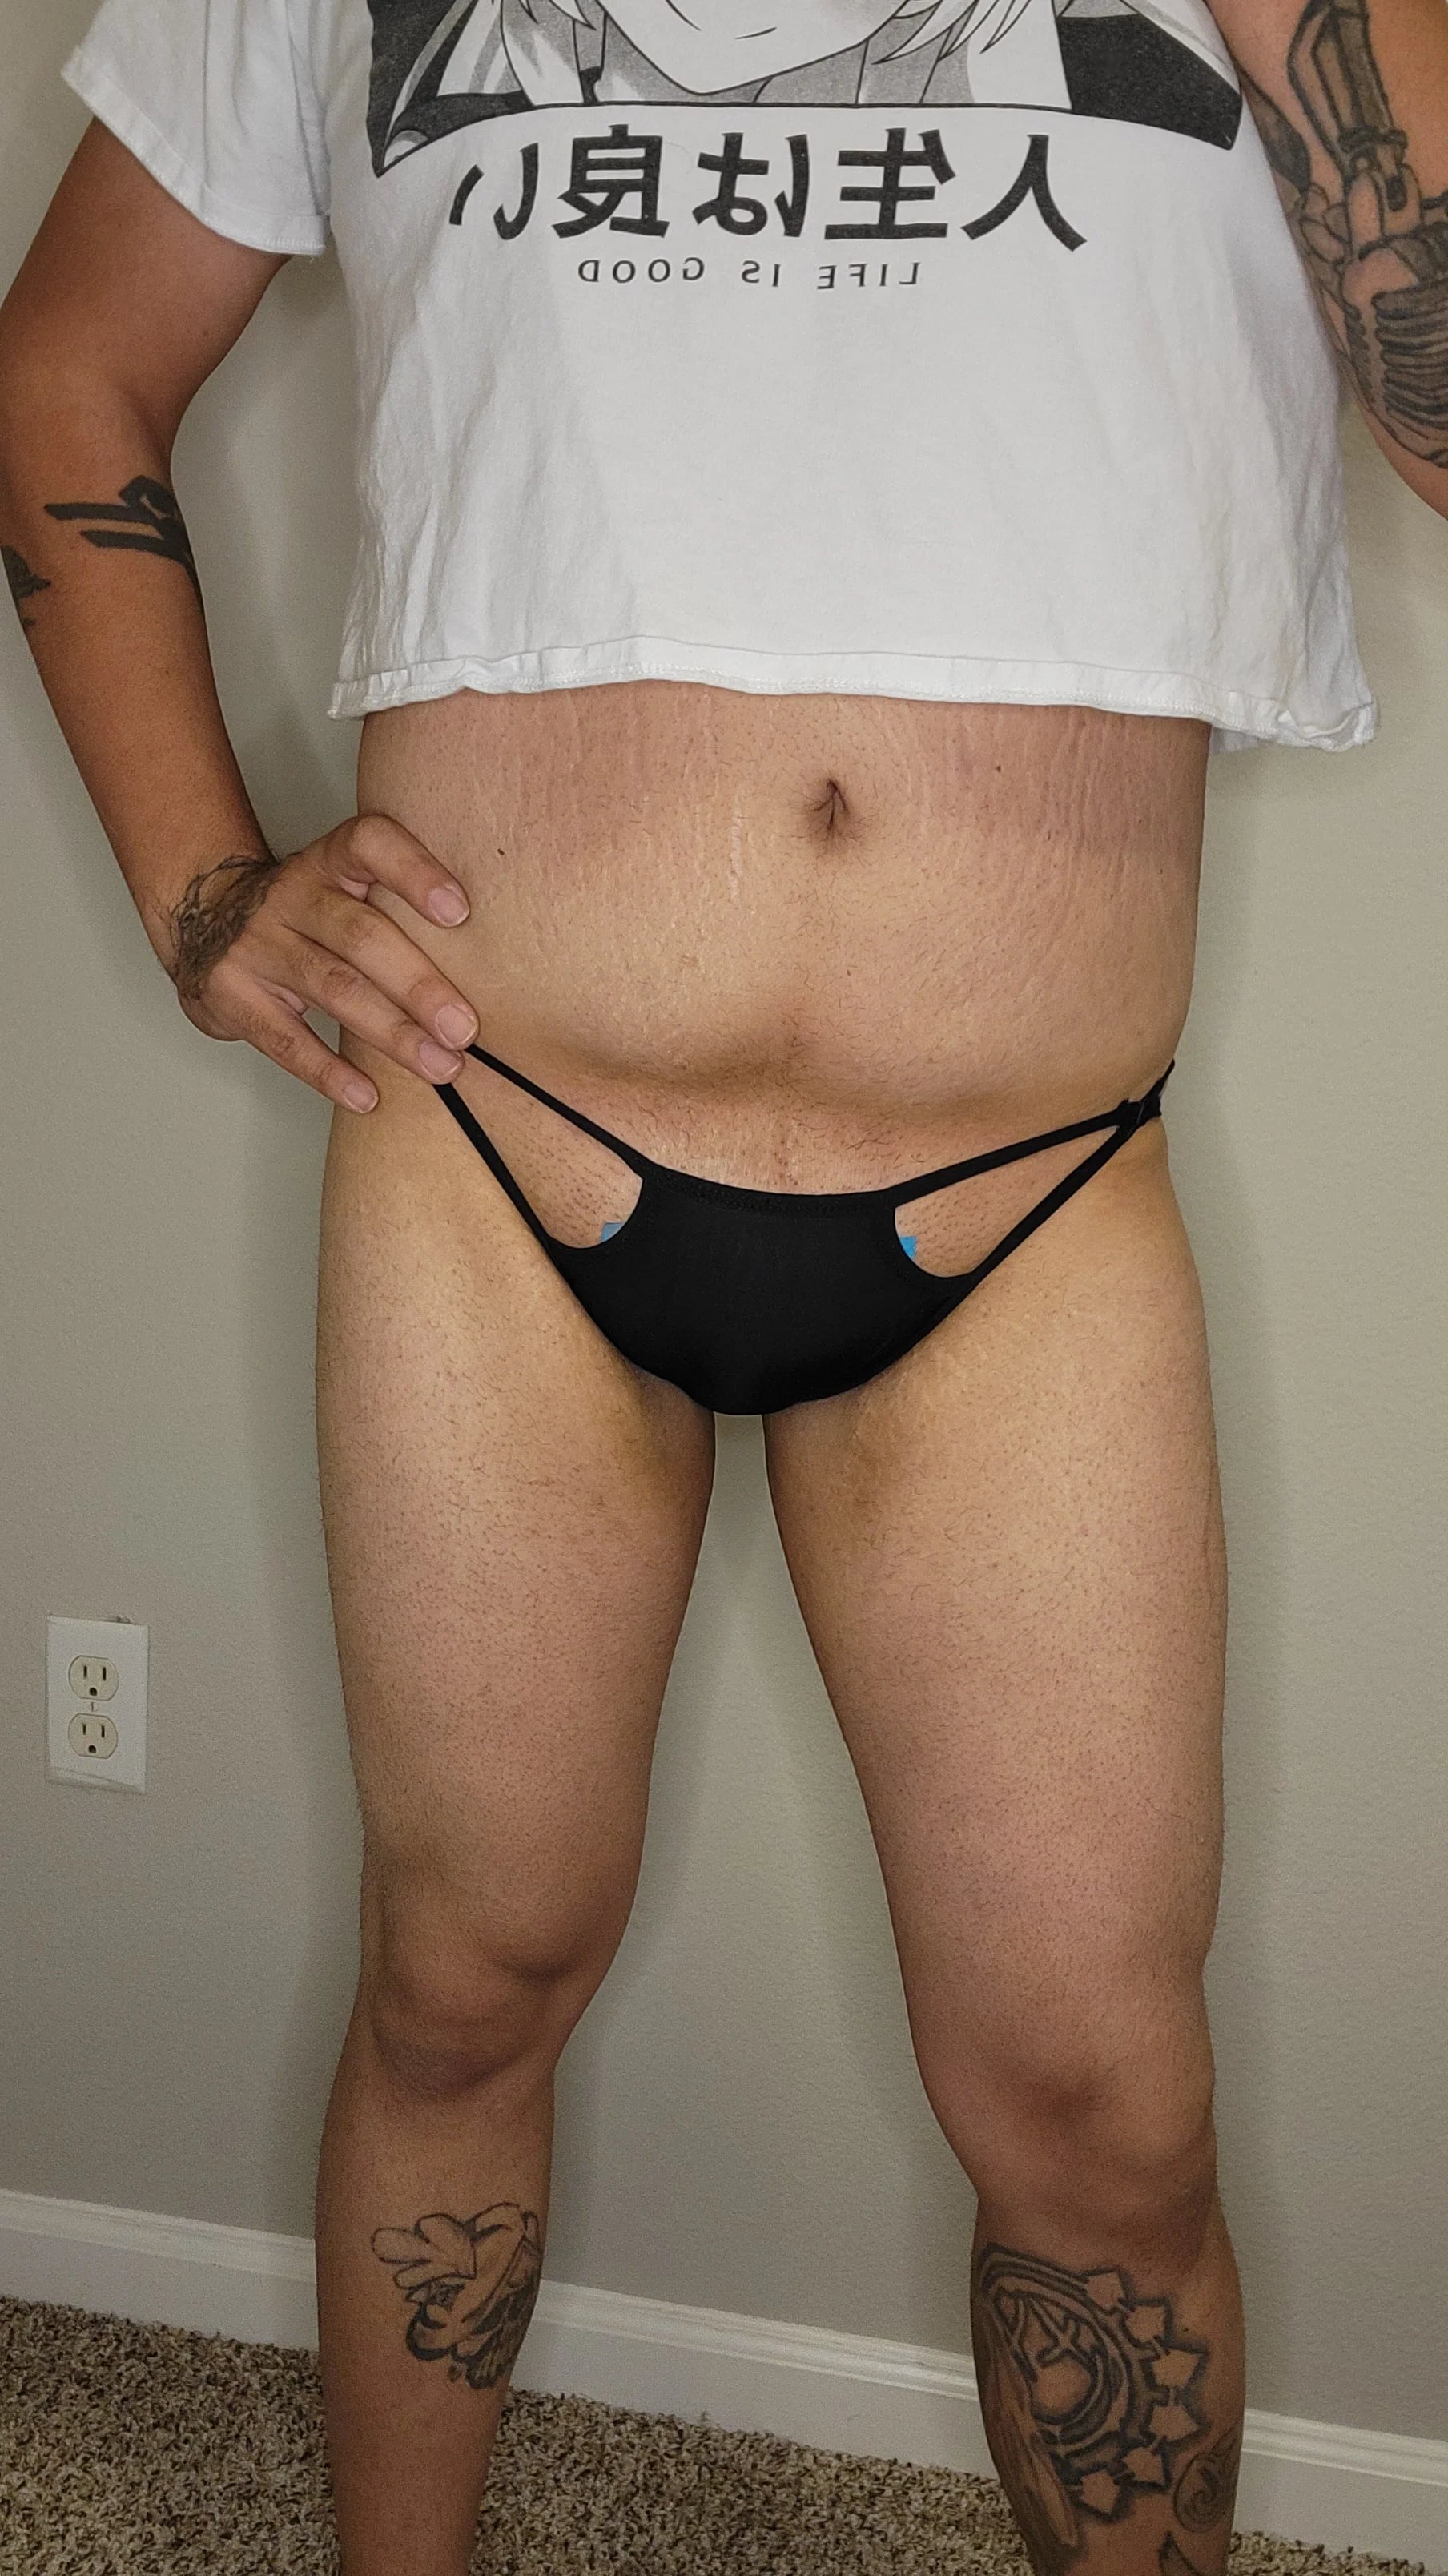
Es posible que hayas leído la publicación para usuarios primerizos sobre el tucking antes de venir aquí, pero si no, ¡no te preocupes! Esta publicación tendrá instrucciones más detalladas sobre cómo perfeccionar tu tuck con TransTape. Siempre recomiendo leer la guía de la tira de prueba y las publicaciones sobre qué hacer antes de aplicar la cinta antes de proceder con tu primera aplicación. Pero si no lo has hecho, no te preocupes, aún cubriremos brevemente la tira de prueba y la preparación básica. ¡Vamos a ello!
¡Hola amigos!
Y enemigos.
Nos hemos reunido aquí hoy para discutir, lo adivinaste, sandía.
Estoy bromeando.
Estamos hablando de tucking con TransTape!
Pero si sientes que necesitas saber un poco más antes de hacer tuck o usar TransTape en general, consulta estas publicaciones:
Antes de entrar en el post propiamente dicho y explicar cómo hacer el tucking, como siempre, voy a dar un breve resumen sobre qué es exactamente TransTape.
Y si has leído alguna de mis publicaciones anteriores, ya te han resumido bastante.
¡Así que siéntete libre de avanzar!
Mientras sollozo suavemente en la esquina por la gente que se salta secciones.
De todos modos, ¡aquí está el resumen! ¡Nos vemos al otro lado!
¿Qué es TransTape?
Ya cubrí el resumen habitual sobre TransTape en la última publicación para usuarios primerizos, así que esto será breve y conciso.
Como siempre, siéntete libre de saltarte esta parte.
 Solo me romperá el corazón.
Estoy bromeando pero también, por favor lee.
TransTape es una cinta de alta calidad y segura para el cuerpo que permite al usuario desechar sujetadores, fajas, gaffes y arneses y vivir libremente en su piel.
Libre de compresión.
TransTape es a prueba de sudor, impermeable y está diseñado para moverse y estirarse con tu cuerpo durante días sin restringir tus movimientos.
El diseño sin compresión e hipoalergénico también ofrece a los usuarios que tienen dificultades respiratorias o piel sensible otra opción para sentirse libres y seguros en su piel.
TransTape es algo bastante increíble.
A diferencia de otros productos de afirmación de género, TransTape no te limita en la cantidad de horas que puedes usarlo.
¡Estás listo para días, mis amigos!
Pero, por supuesto, ten cuidado con tu piel y busca signos de irritación o posibles reacciones cutáneas. Porque aunque TransTape está hecho con materiales de la más alta calidad posible, eso no garantiza que todos vayan a tener la misma experiencia.
 Lo que me lleva al siguiente punto.
Antes de intentar aplicar TransTape por primera vez, completa tu tira de prueba.
¡No omita la tira reactiva!
No lo hagas.
Sáltatelo .
Creo que eso cubre nuestro resumen.
¡Vamos!
Paso 1: Registrarse
 Probablemente algunos de ustedes estén poniendo los ojos en blanco en el paso de registro.
Lo entiendo, a veces también pongo los ojos en blanco ante el autocuidado.
¡Pero eso no significa que no sea importante!
Cuando usas TransTape, hay una buena probabilidad de que estés manipulando o enfrentando partes de tu cuerpo que pueden o no causarte incomodidad.
Esto no es igual para todos, pero independientemente de cómo te sientas normalmente respecto a tu cuerpo, siempre es importante tomarse un tiempo para revisar tu estado de ánimo actual.
Cuando estamos de mal humor, tendemos a reaccionar de manera diferente ante errores simples y fáciles de corregir.
Nuevamente, esa situación específica puede no aplicarse a ti, pero tener un estado mental positivo es extremadamente importante cuando se trata de lograr cosas al máximo de tu capacidad.
Si es la primera vez que usas TransTape, creo que es aún más importante sentirse bien antes de aplicarlo.
¿Por qué?
Porque es mucho más probable que cometas errores pequeños, y corregibles,. ¡Y eso puede ser súper frustrante para cualquiera!
Y no queremos que nadie se sienta frustrado o que grabar sea imposible.
Para mí, siempre tengo una mejor aplicación cuando me siento positivo y animado conmigo mismo.
Esa es solo mi experiencia personal, pero sé que no soy el único.
Por eso el paso 1 siempre es, revisar contigo mismo y ver cómo te sientes.
Así que tómate un tiempo, pregúntate cómo te sientes y tal vez incluso enciende algunas velas.
El tipo de alivio del estrés.
Paso 2: ¡Reúne los suministros!
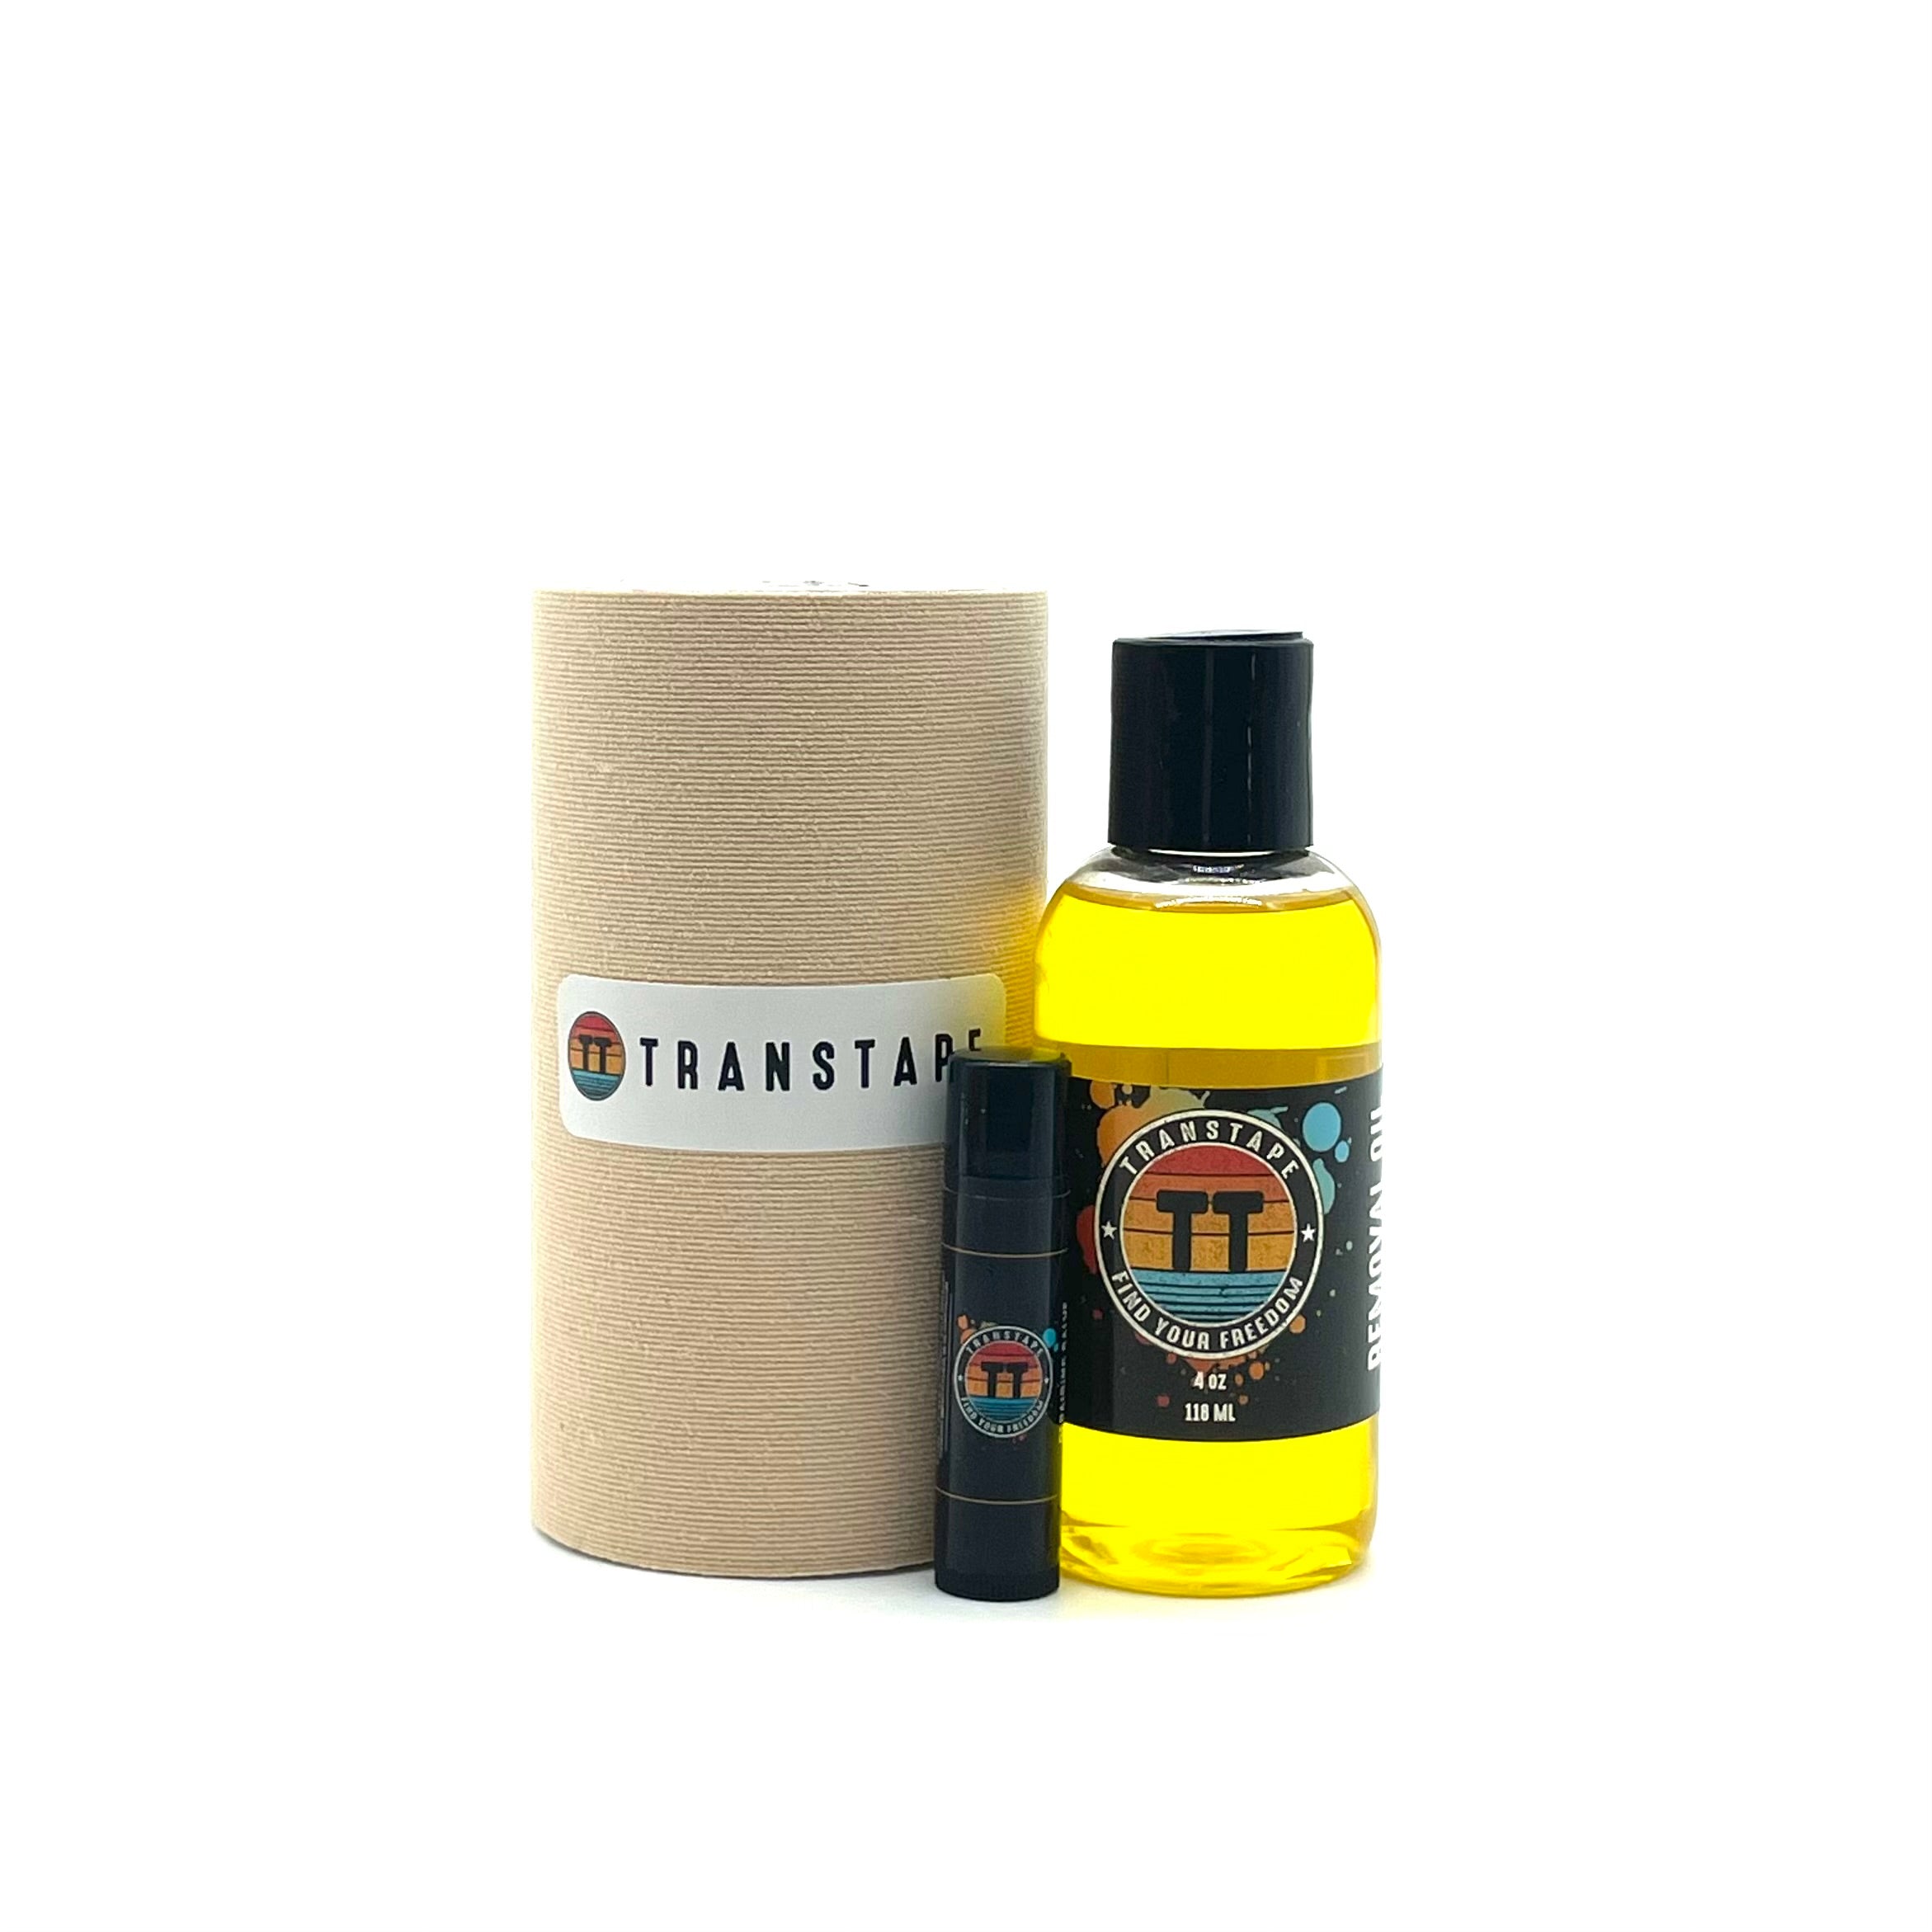
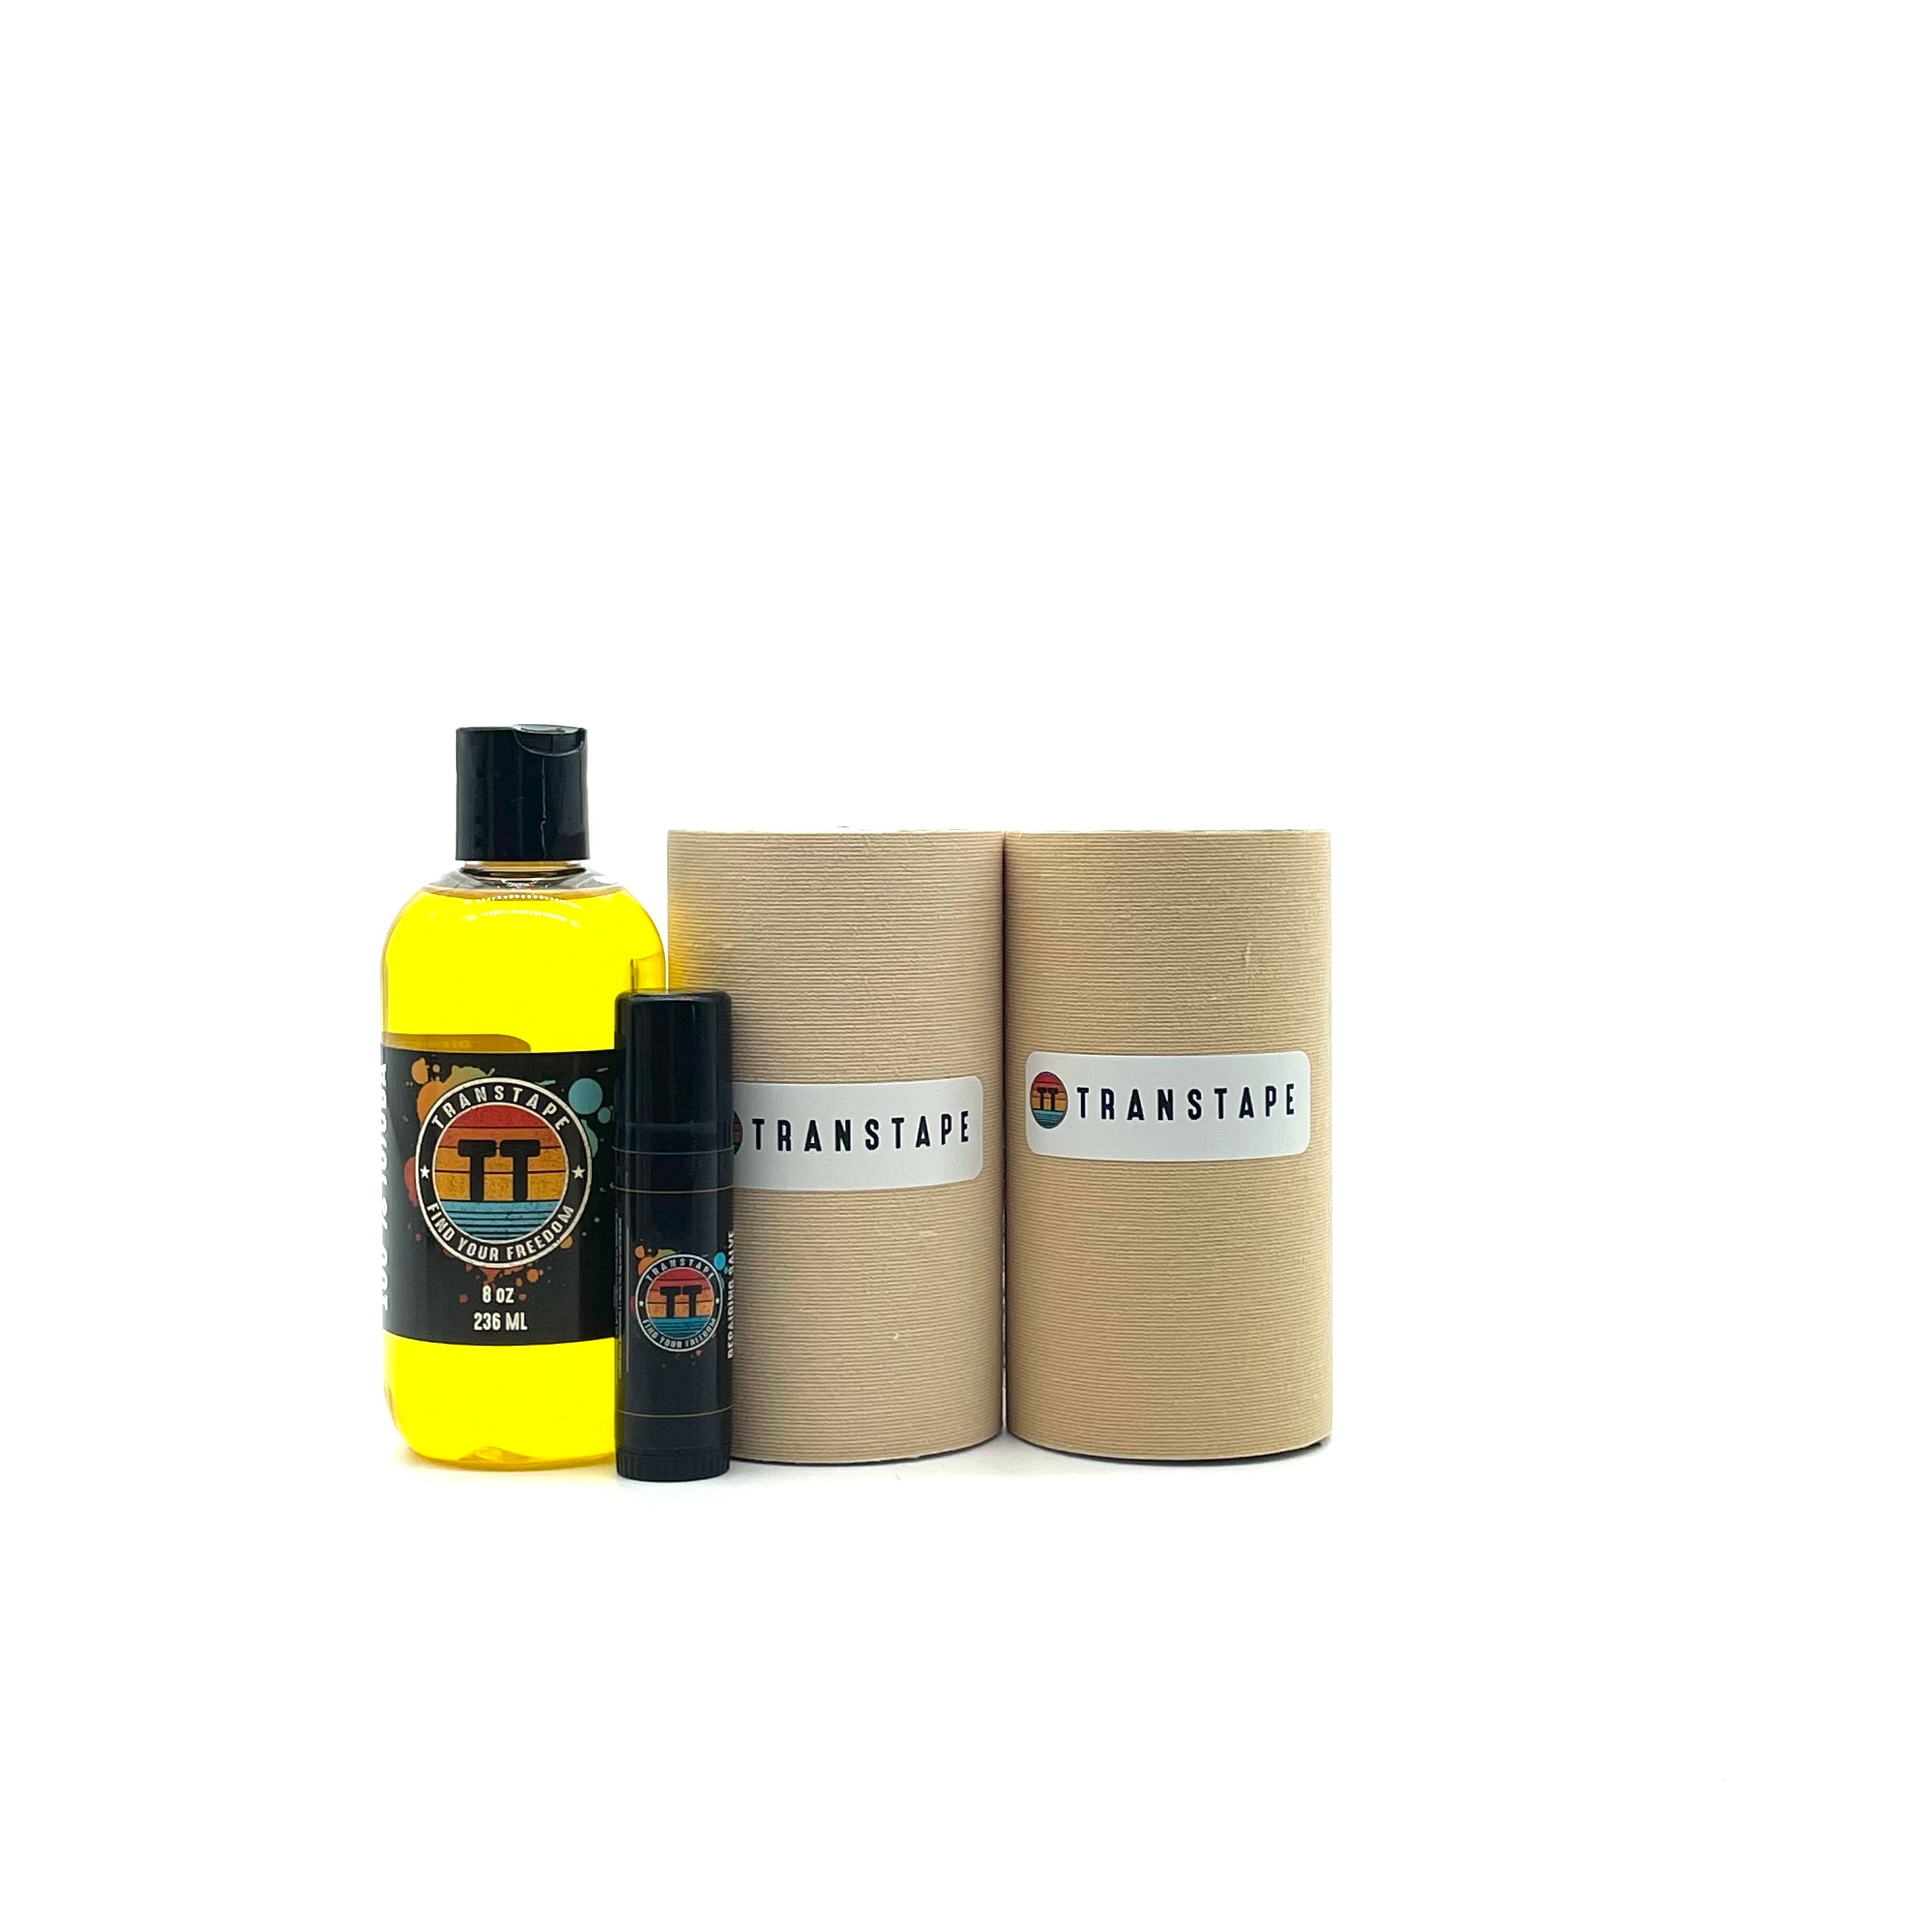
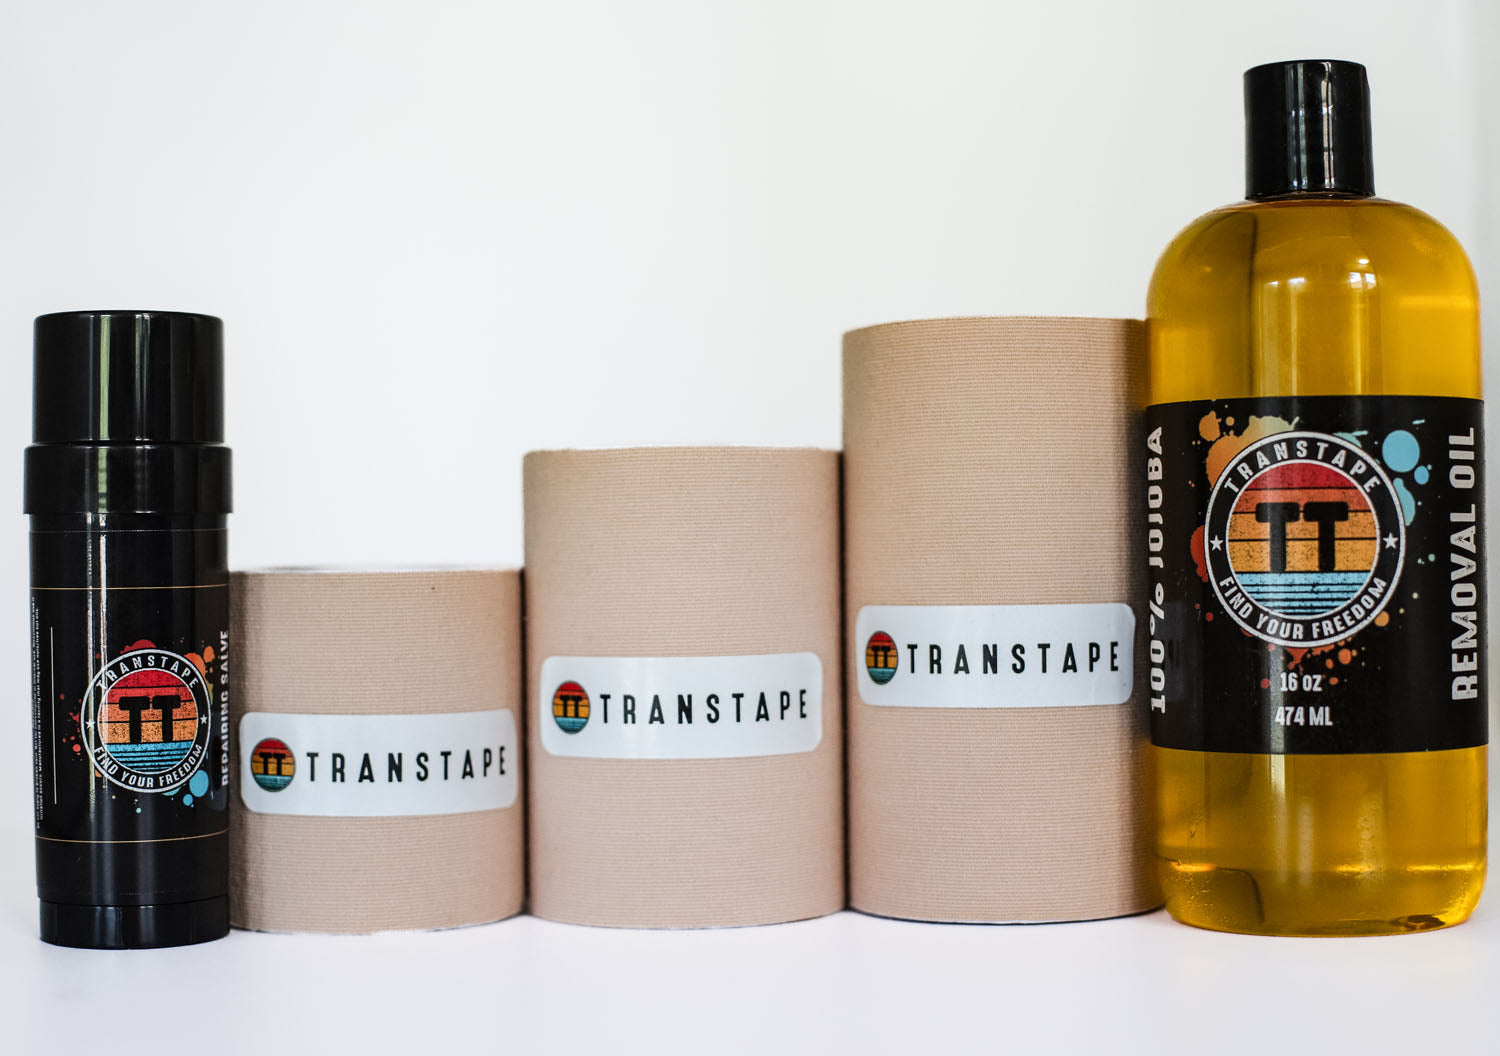
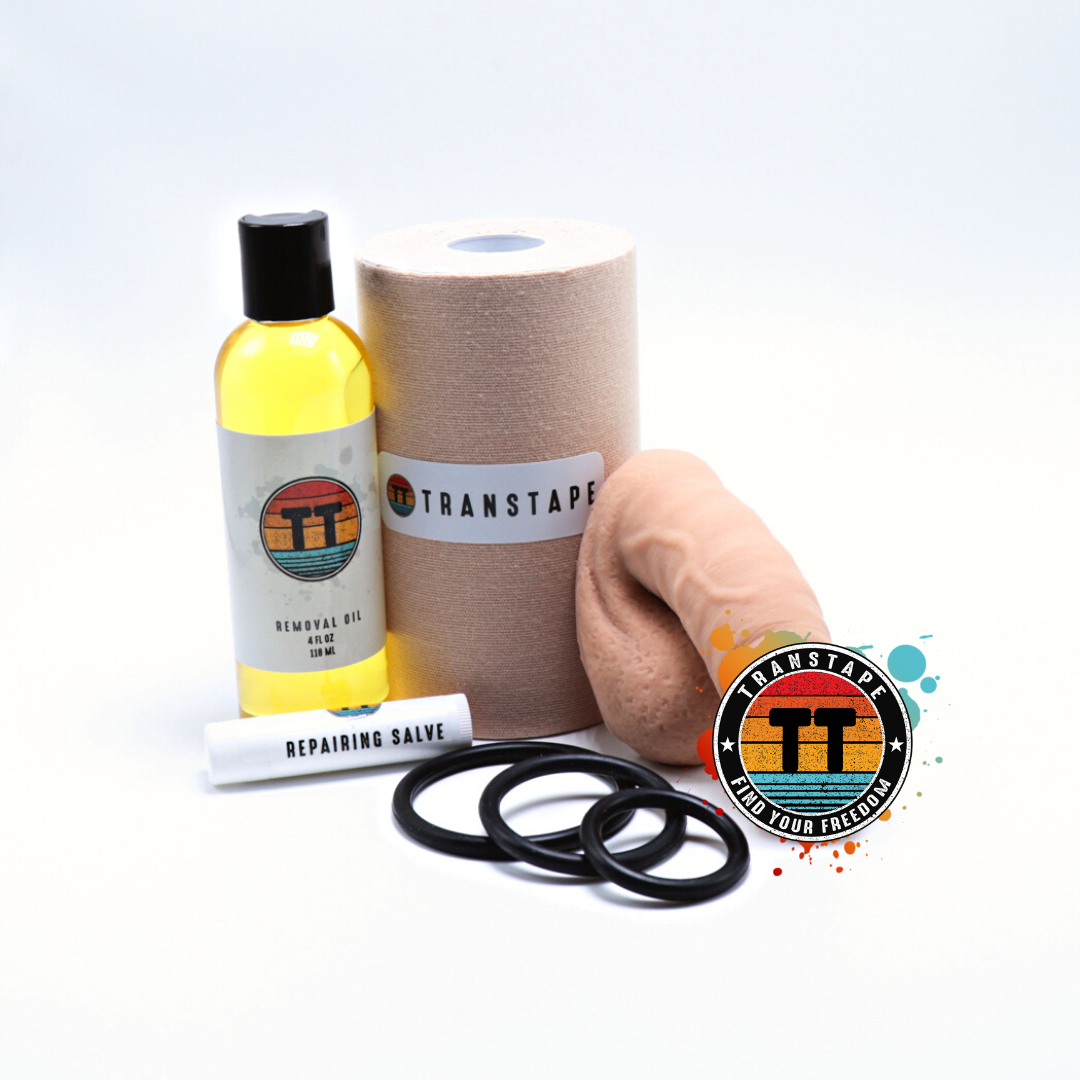
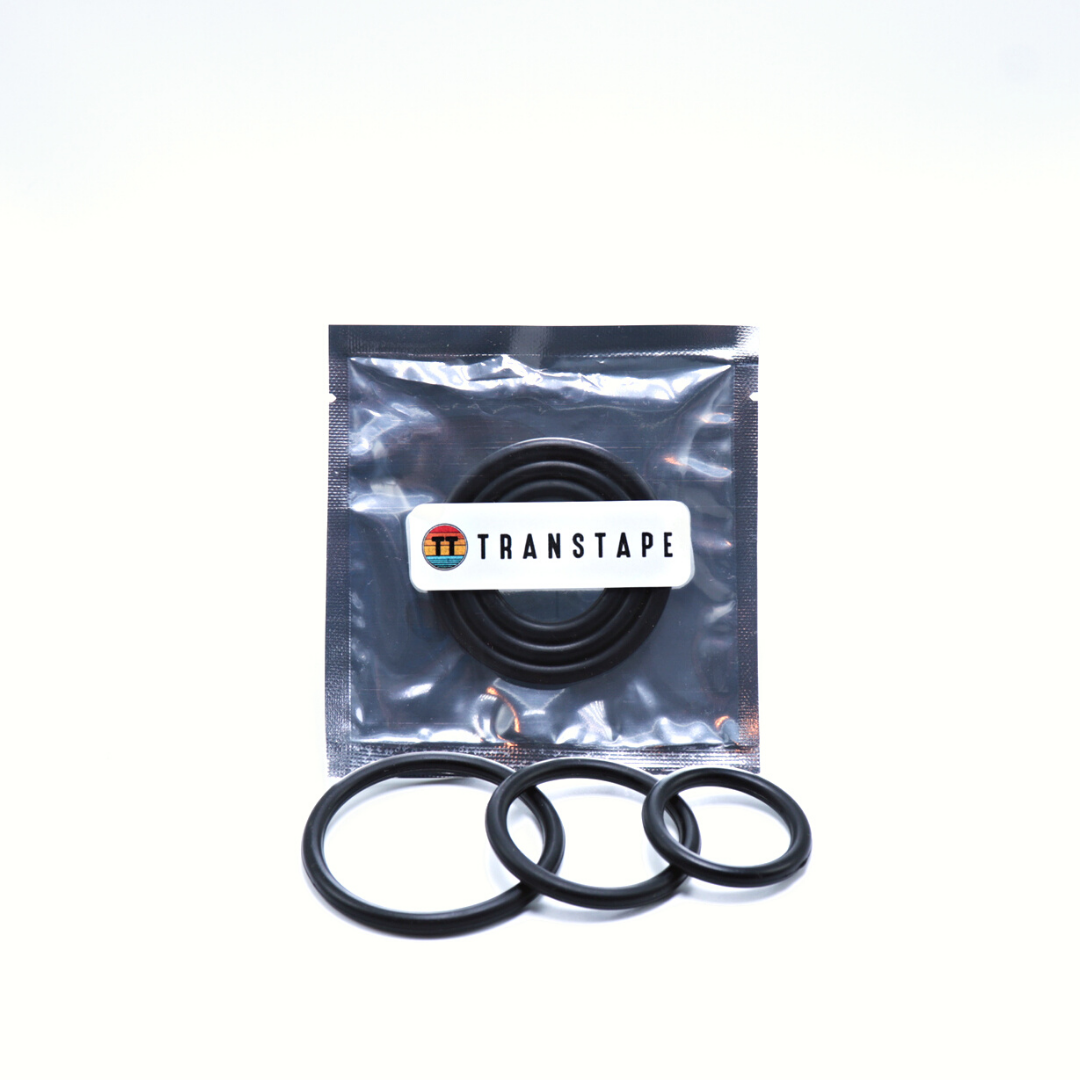
 Lo que necesitarás:
-
Alcohol para frotar
-
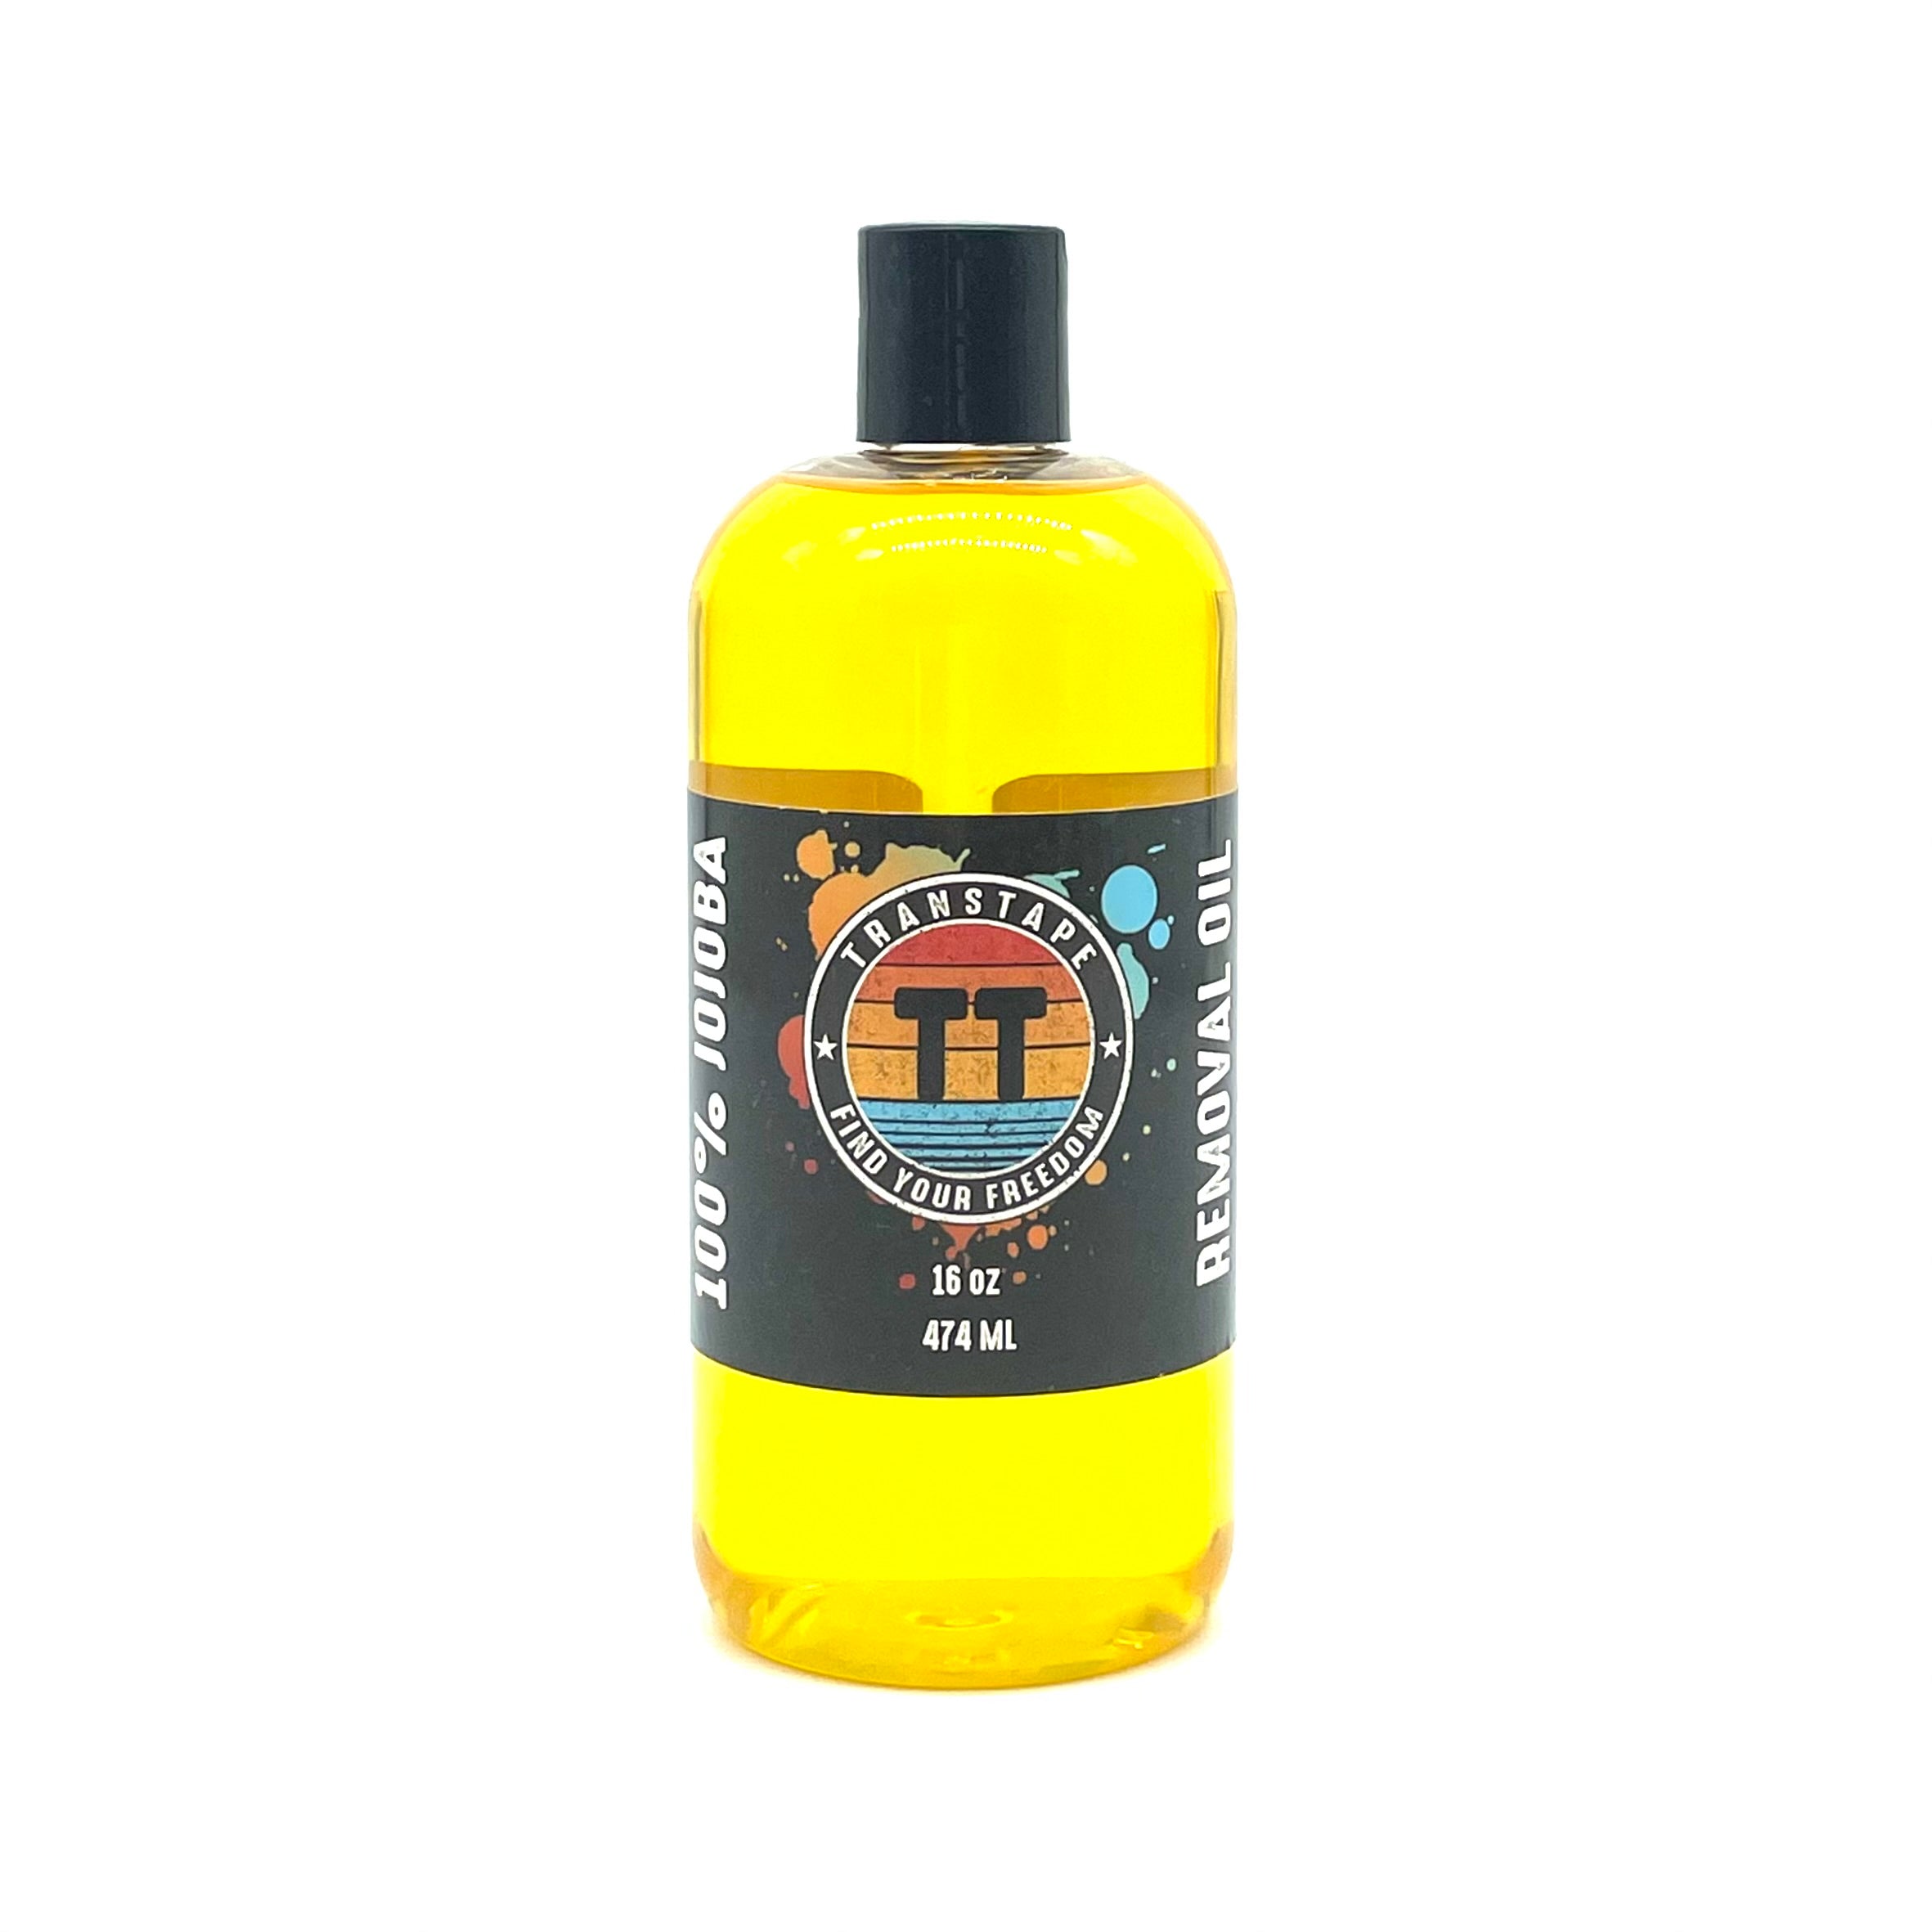
Aceite de eliminación
-
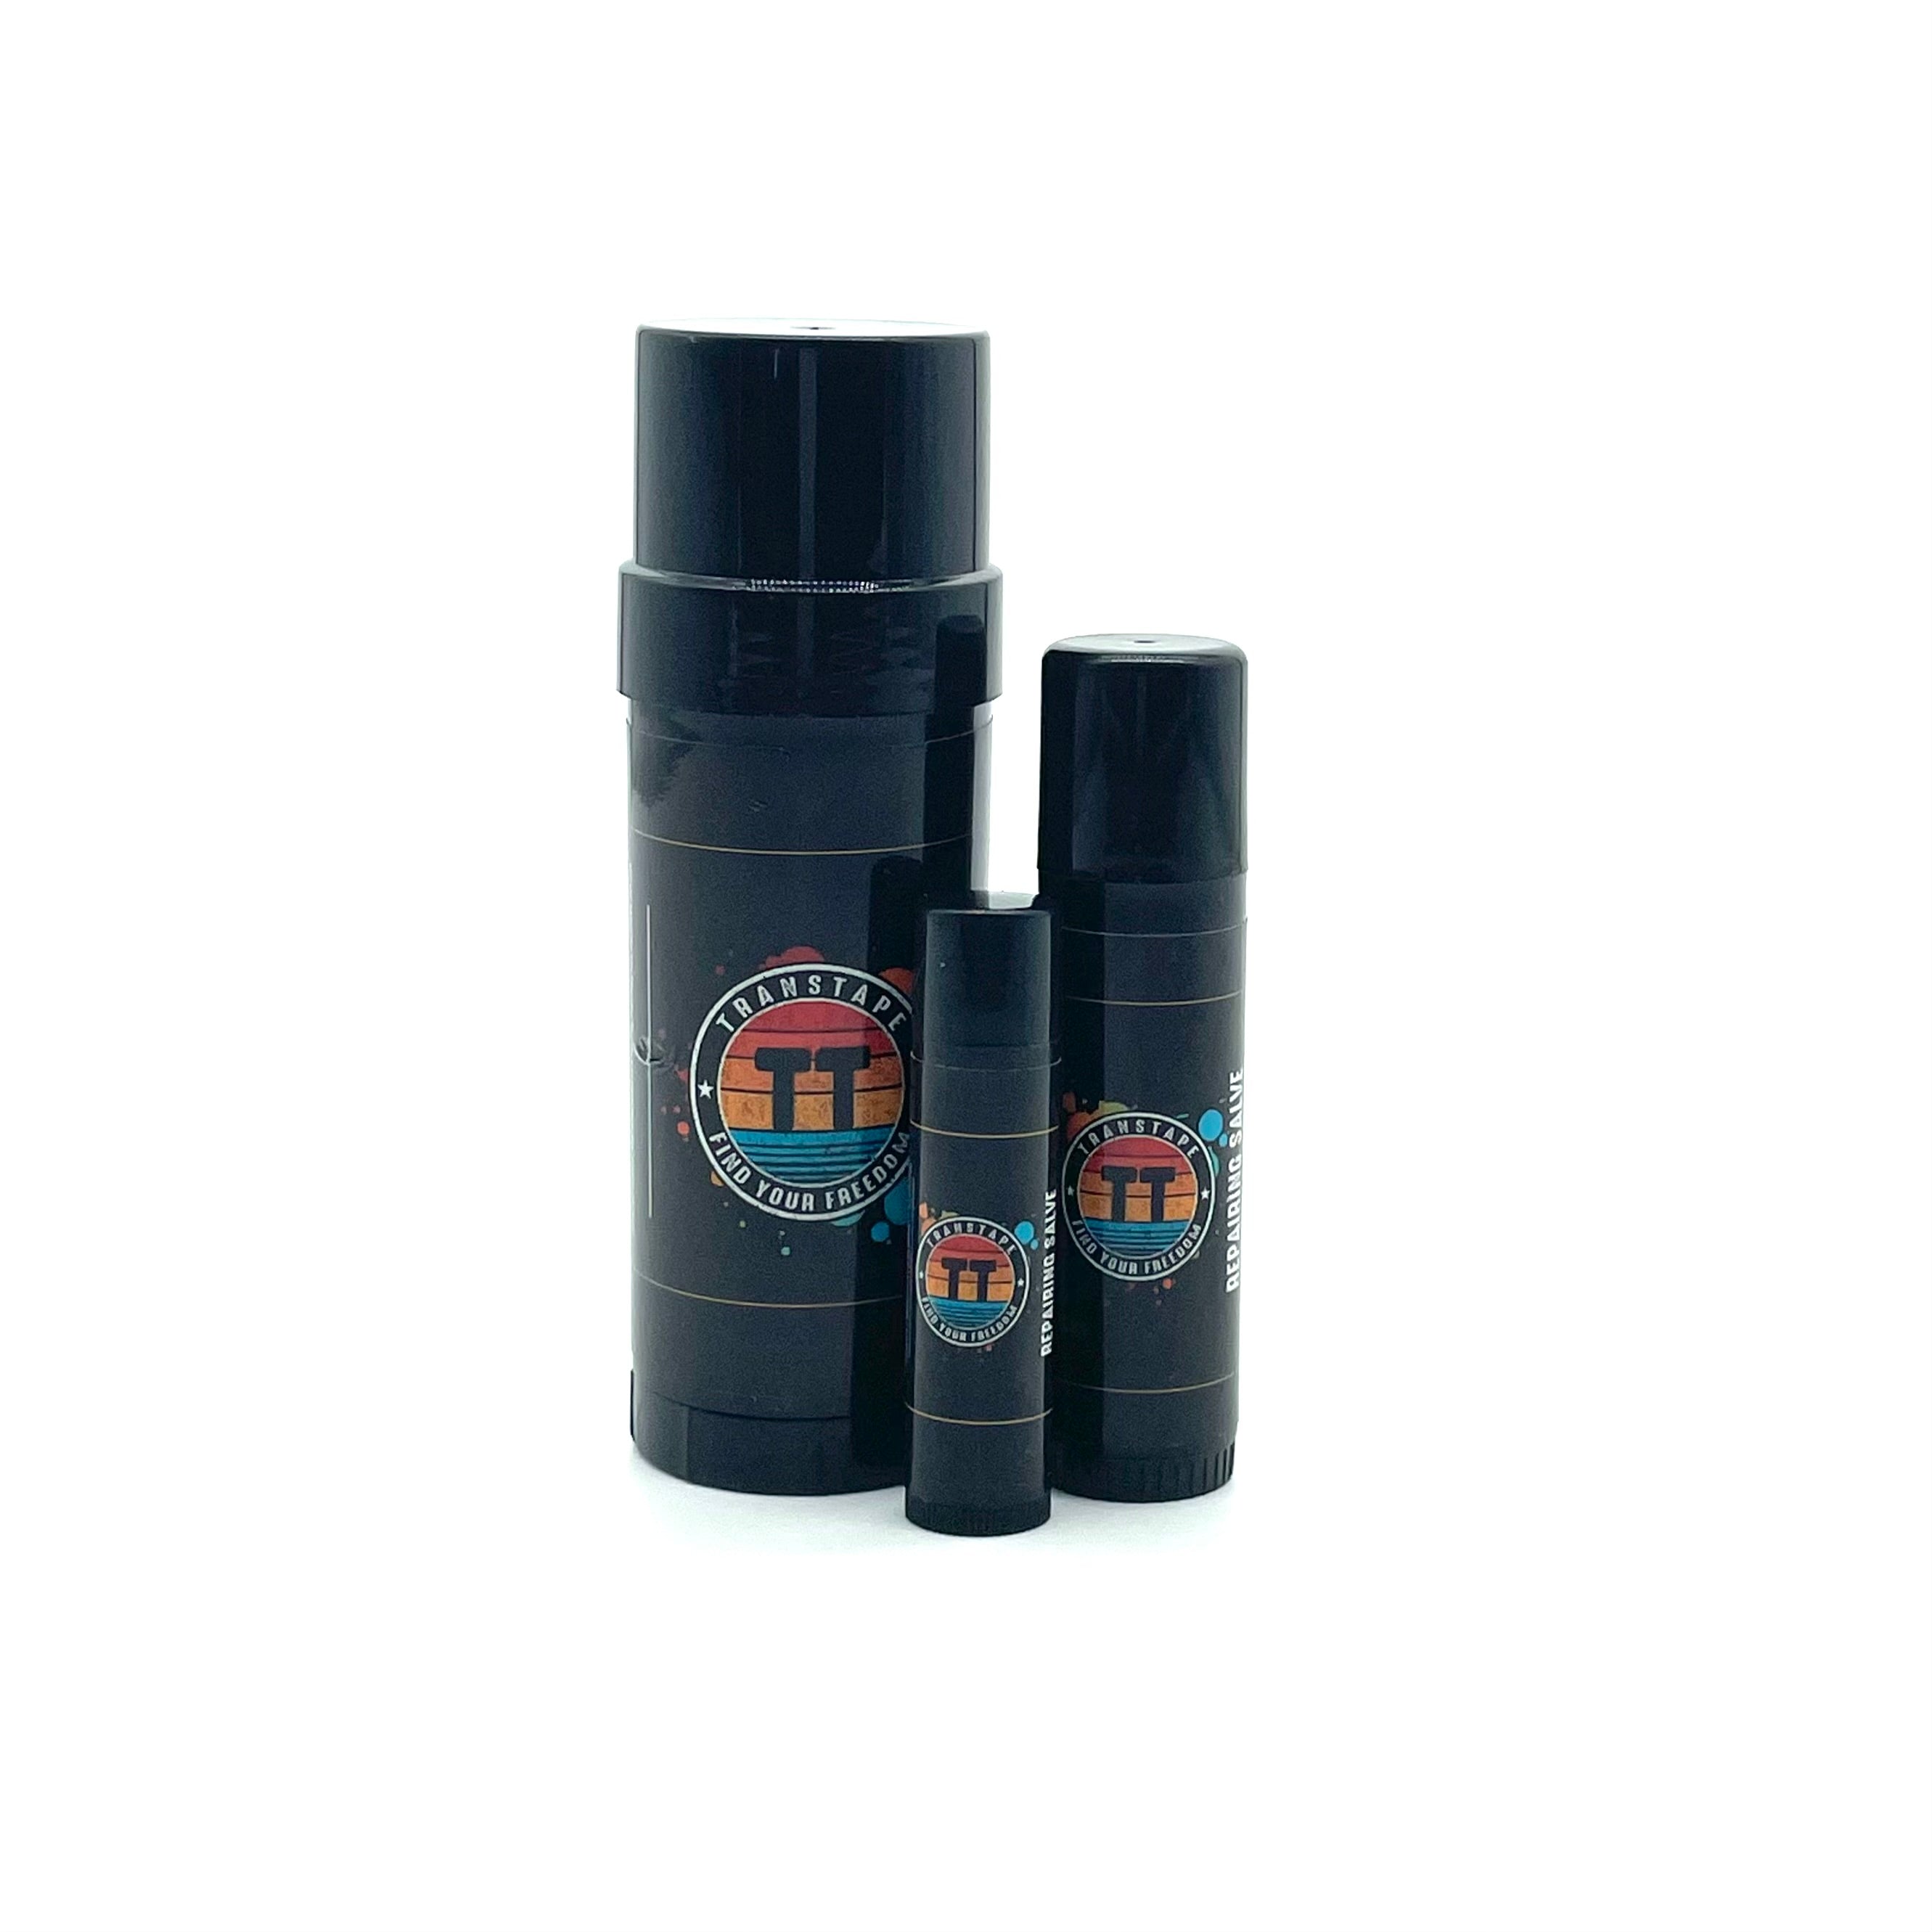
Ungüento reparador
No hay mucho de qué hablar en esta sección, pero siempre encuentro algo.
Así que discutamos las recomendaciones adicionales.
Se sugiere usar alcohol para frotar y limpiar el área donde vas a aplicar para asegurarte de que no haya aceites naturales que puedan interferir con el adhesivo.
Si eres alguien que suda mucho o simplemente disfruta genuinamente de la oferta de compra 3 y lleva 3 gratis en Bath and Body Works, esta es definitivamente una recomendación fuerte para ti.
 En cuanto al aceite para la eliminación y la pomada reparadora, ¡eso es para el proceso de eliminación!
Especialmente considerando el área con la que estamos trabajando aquí, definitivamente quieres prepararte para el proceso de extracción más fácil posible.
El aceite removedor TransTape utiliza aceite de jojoba, que es ideal para descomponer el adhesivo mientras también rehidrata tu piel y mejora la elasticidad de la piel.
¿Y el ungüento?
Contiene aceite de coco, manteca de karité, cera de abejas, aceite de cedro, aceite de monarda y aceite de frankenscience. Todos ellos poseen propiedades curativas y ayudarán a que tu piel se recupere en tus días libres.
¡Próximo!
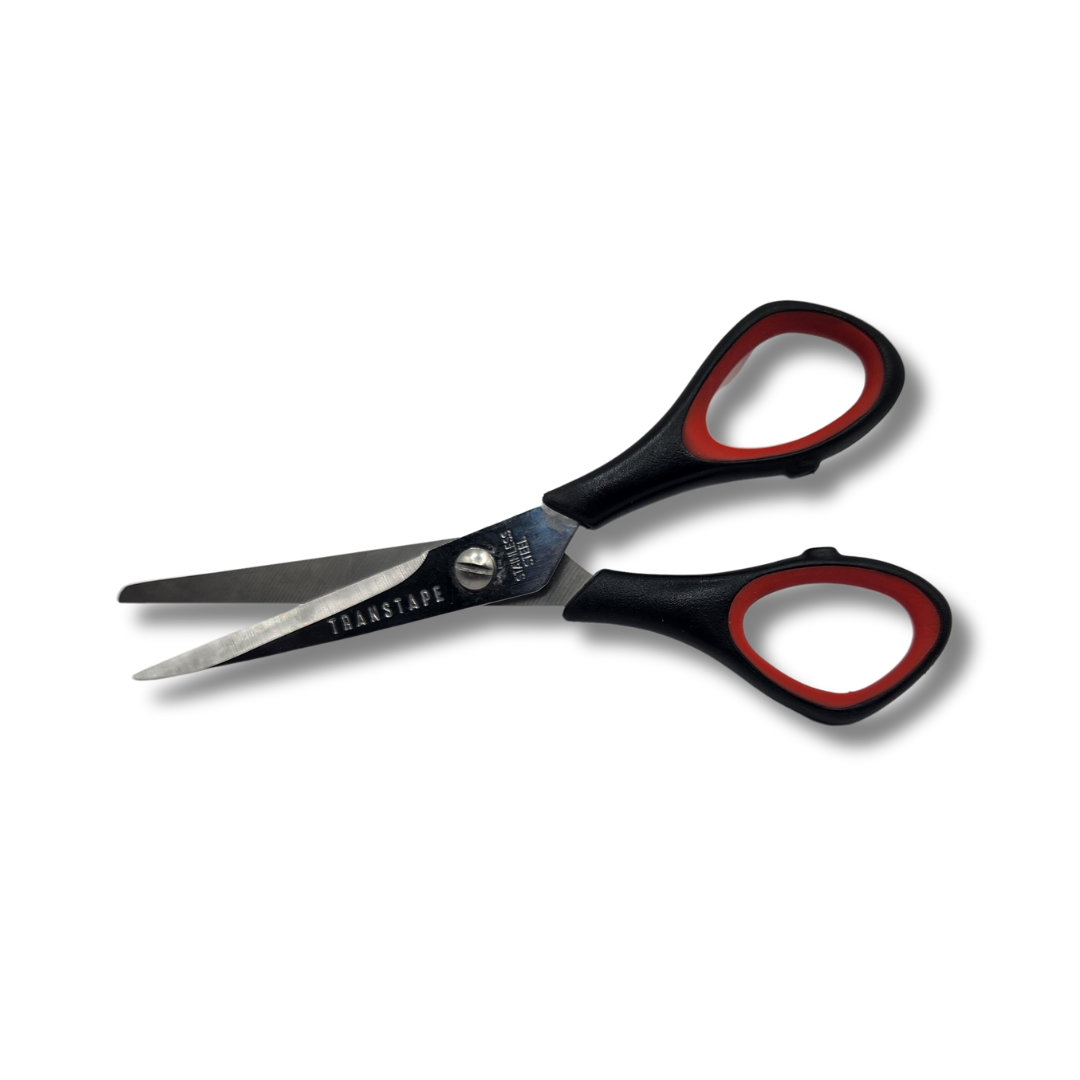
Paso 3: ¡Corta!
¡Nos estamos acercando a la parte divertida!
Ahora es el momento de decidir qué técnica vas a usar para meter.
Podrías usar 1 tira o 3 tiras.
¡O tantos como quieras, tú decides!
Todos son diferentes y sugeriría probar cada técnica al menos una vez para ver cuál te hace sentir más cómodo y seguro.
Una tira
 Si estás usando una tira, toma tu TransTape y desenrolla aproximadamente 6 secciones.
Esta tira debería ser lo suficientemente larga para llegar desde tu hueso púbico hasta tus nalgas.
Dependiendo de tus niveles de comodidad y anatomía, es posible que debas ajustarlo según lo consideres adecuado.
Después de cortar tu tira, ¡asegúrate de redondear las esquinas!
Redondear las esquinas reduce la probabilidad de que la cinta se despegue.
También creo que simplemente se ve mejor, pero eso es aparte del punto.
Tres tiras
Toma tu rollo de TransTape y desenrolla aproximadamente 6 secciones.
Tus tiras deben ser lo suficientemente largas para llegar desde tu hueso púbico hasta tus nalgas.
Dependiendo de tus niveles de comodidad y anatomía, es posible que debas ajustarlo según lo consideres adecuado.
Puedes cortar una tira, a lo largo, en 3 piezas separadas o puedes cortar 3 tiras de ancho completo.
 También podrías cortar dos tiras de ancho completo y cortar una por la mitad. ¡Depende de ti! Prueba diferentes cosas y ve qué funciona mejor para ti y tu cuerpo.
¡Y no olvides redondear tus esquinas para obtener los mejores resultados!
Redondear las esquinas reducirá las probabilidades de que tu cinta se despegue.
También se ve mejor, en mi humilde opinión.
Paso 4: ¡Aplica!
Aquí vamos, ¡el momento que todos hemos estado esperando!
Solicitud.
Muy rápido
Si aún no lo has hecho, este es el momento de limpiar la zona donde vas a aplicar con alcohol isopropílico para eliminar cualquier exceso de grasa en la piel.
No hay vergüenza en tener piel grasa, es completamente natural y estoy contigo en eso.
Este también sería un buen momento para darte un pequeño corte al rape para evitar una eliminación más complicada más adelante.
Si estás interesado en aprender sobre el vello corporal y TransTape, consulta esta publicación aquí.
Una tira
Toma tu tira preparada, quita solo aproximadamente una pulgada del respaldo para crear tu ancla, y colócala sobre tu hueso púbico.
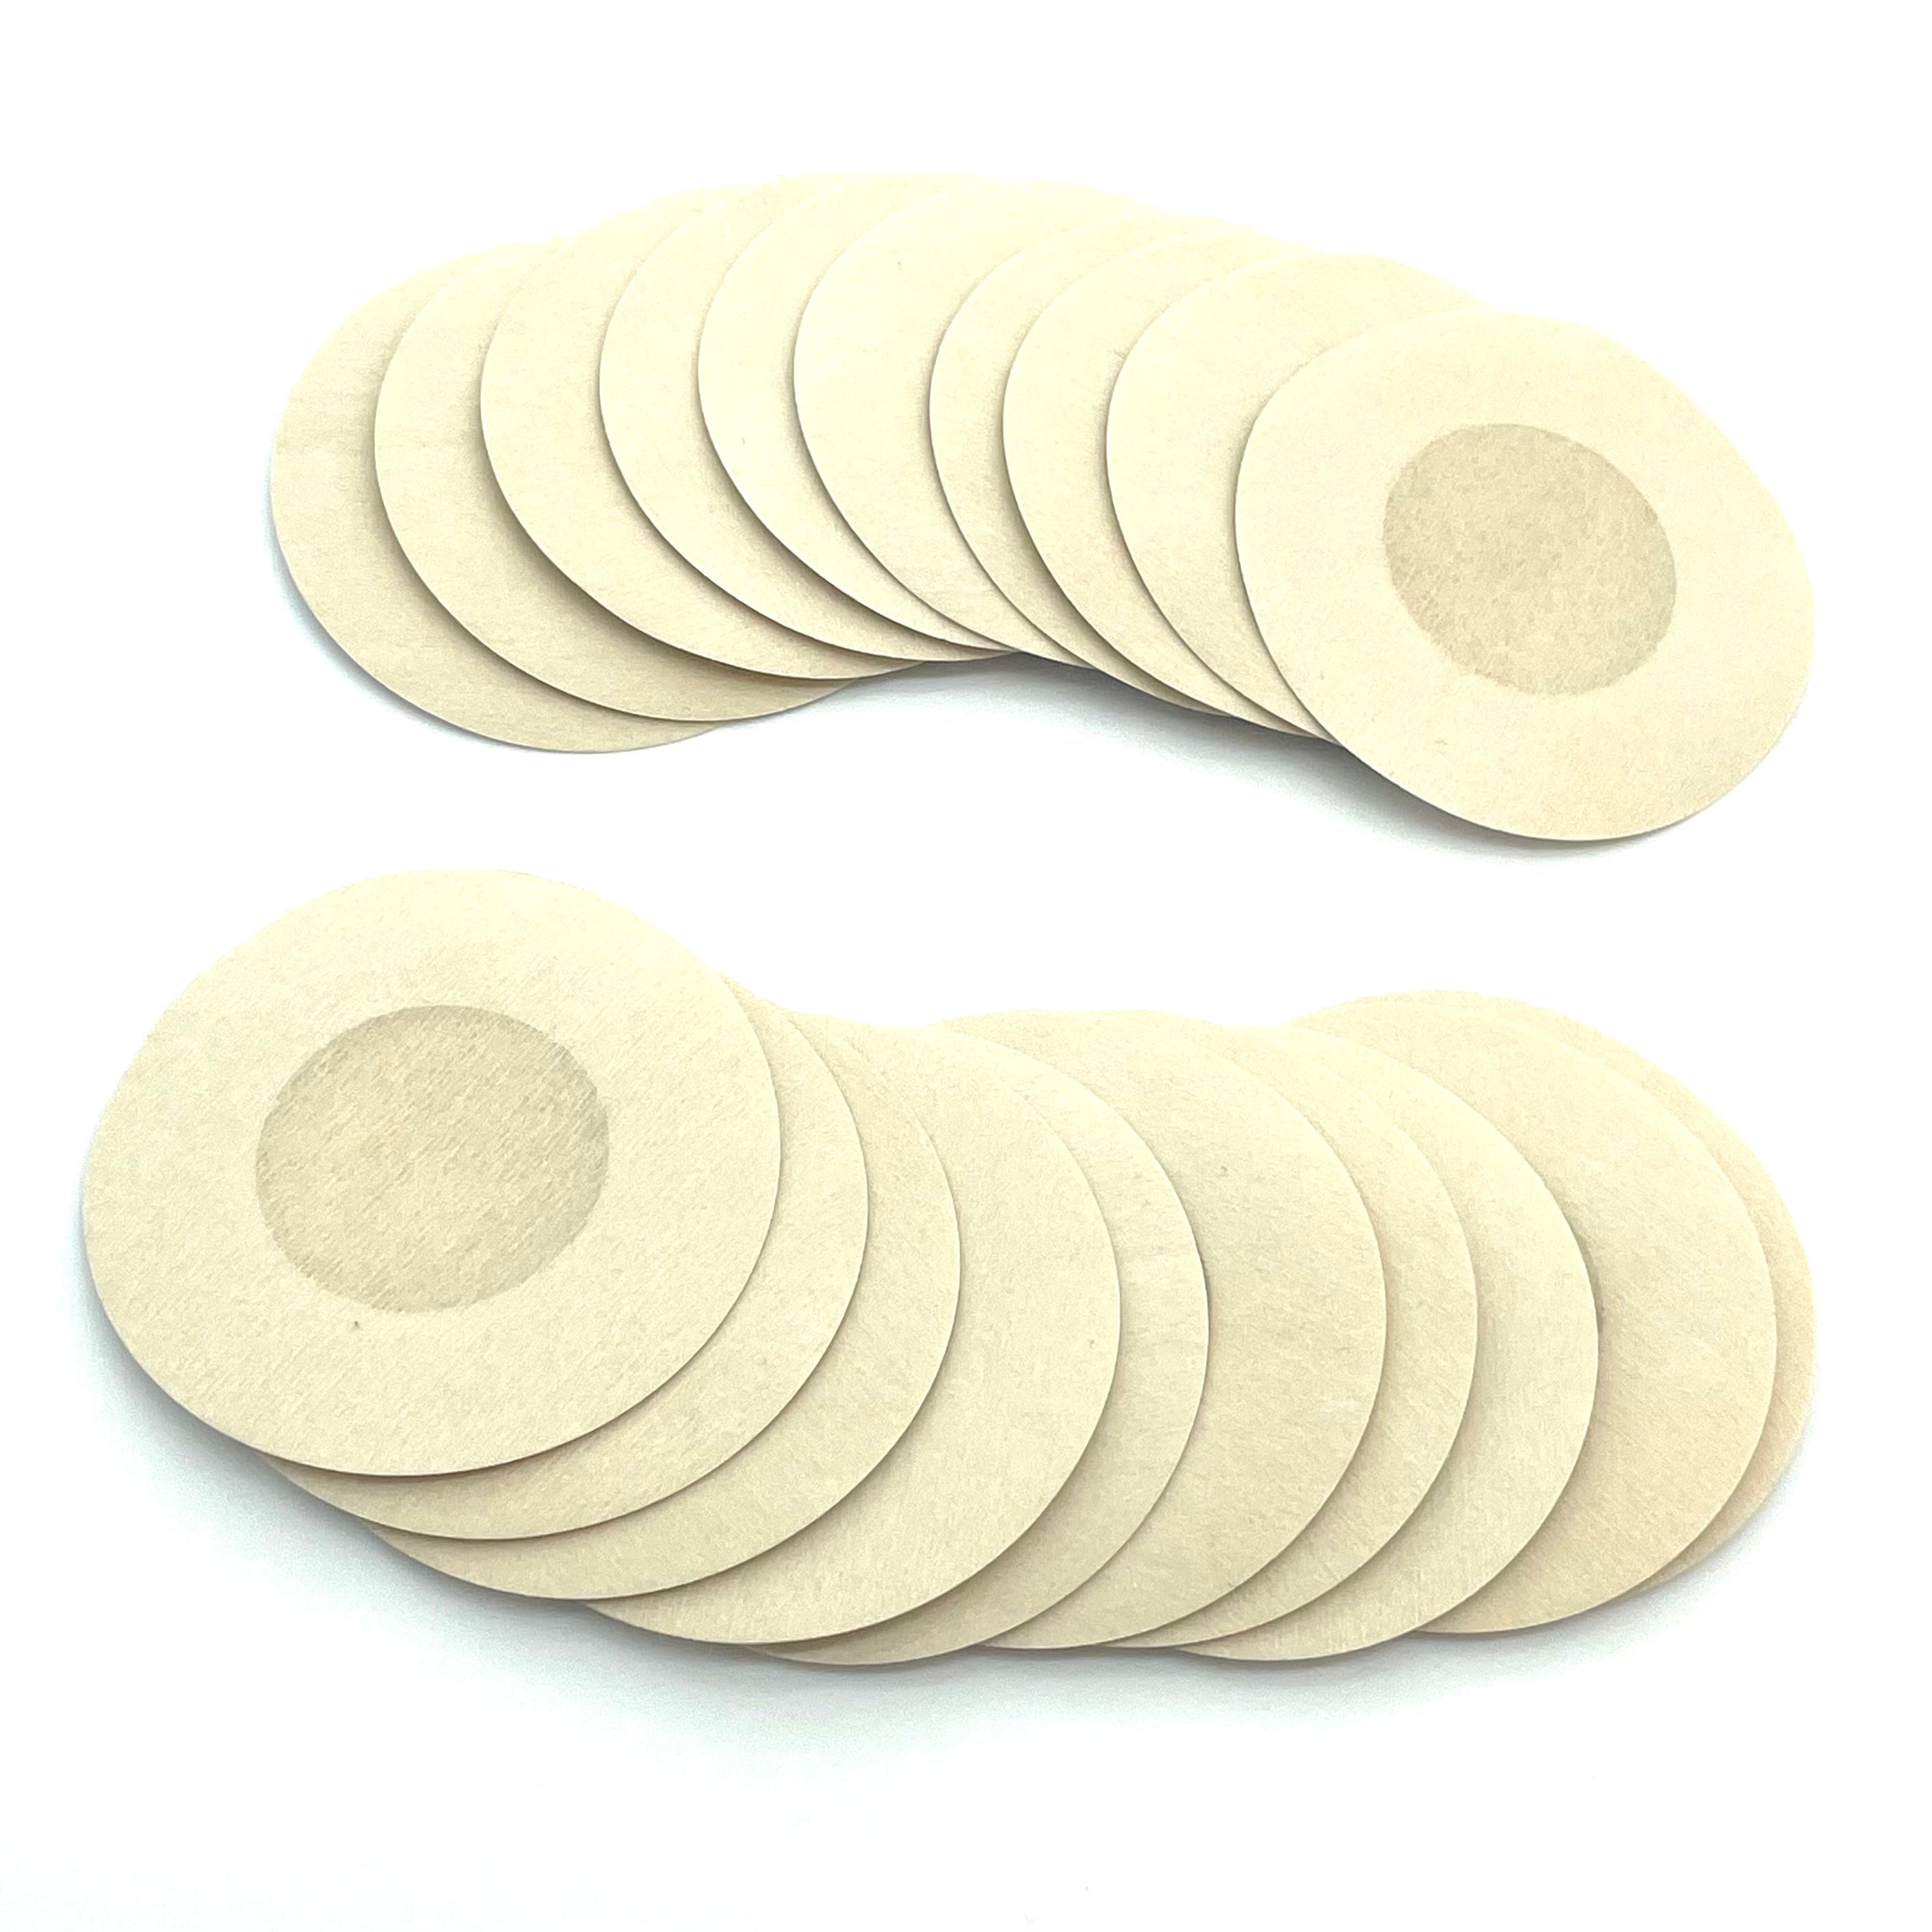
Toma tu tejido o gasa y colócalo en la parte trasera de la cinta para proteger tus genitales.
El tejido o gasa debe ser lo suficientemente ancho y largo para proteger completamente su piel sensible, pero aún debe quedar al menos una pulgada de cinta expuesta al final para que pueda adherirse correctamente.
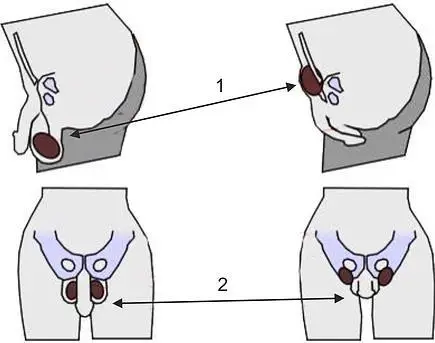
Una vez que hayas colocado tu tejido o gasa, puedes empujar tus testículos hacia la cavidad interna y meter tu eje hacia atrás.
Si no te gusta empujar los testículos hacia arriba, ¡también está bien! Mételos hacia atrás junto con el eje y hazlo de esa manera. ¡Se trata de comodidad y libertad!
Con una mano, empuja suavemente y guía tu cinta sobre los productos.
Con la otra mano, alcanza desde atrás y tira del respaldo mientras tu primera mano guía la cinta hacia atrás.
Una vez que hayas llegado al final de tu cinta y hayas cubierto lo que quieres cubrir, despega el resto del respaldo y adhiérelo a la parte de la nalga que elijas.
También puedes llevar la cinta entre tus glúteos hasta la parte baja de la espalda, pero eso depende completamente de ti y de tu nivel de comodidad.
¡Y eso es todo para la técnica de una sola tira!
Tres tiras
Toma una de tus 3 tiras preparadas y retira aproximadamente una pulgada del papel protector para crear tu ancla y asa.
Coloca tu ancla sobre tu hueso púbico.
Toma tu pañuelo o gasa y colócalo de manera que tus genitales queden completamente cubiertos.
 La gasa o tela debe ser lo suficientemente ancha y larga para proteger completamente tu piel sensible.
Una vez que hayas colocado tu tejido o gasa, puedes empujar tus testículos hacia la cavidad interna y meter tu eje hacia atrás.
Si no te gusta empujar los testículos hacia arriba, ¡también está bien! Mételos hacia atrás junto con el eje y hazlo de esa manera. ¡Se trata de comodidad y libertad!
Con una mano, empuja suavemente y guía tu cinta sobre uno de los testículos para mantenerlo en su lugar.
Y con la otra mano, alcanza desde atrás y tira del respaldo mientras tu primera mano guía la cinta hacia atrás.
 Una vez que hayas llegado al final de tu cinta y hayas cubierto lo que quieres cubrir, despega el resto del respaldo y adhiérelo a la parte de la nalga que elijas.
A continuación, toma una de tus otras 2 tiras preparadas y coloca el ancla.
Quieres que haya algo de superposición entre tus tiras para que la cinta pueda adherirse correctamente.
Al igual que con la primera tira, empuja suavemente y guía tu cinta sobre el testículo para mantenerla en su lugar, luego alcanza desde atrás y tira del respaldo mientras guías la cinta hacia atrás.
Pela el resto del respaldo y adhiérelo a la parte de la nalga que prefieras.
Por último, pero no menos importante, toma la última tira preparada y coloca el ancla sobre tu hueso púbico.
Esta tira está principalmente destinada a meter el eje hacia atrás y funciona mejor cuando se coloca en el centro.
Como los demás, empuja suavemente y guía tu cinta de nuevo sobre el eje para mantenerla en su lugar y alcanza desde atrás para tirar del respaldo mientras guías la cinta hacia atrás.
Pela el resto del respaldo y adhiérelo a la parte de la nalga que prefieras.
También puedes llevar las tiras entre tus glúteos hasta la parte baja de la espalda, pero eso depende completamente de ti y de tus niveles de comodidad.
Para suavizar la aplicación y proporcionar más seguridad, puedes aplicar una tira ancha sobre las otras tres.
También puedes aplicar una tira sobre el punto donde se encuentran las tiras en tu parte trasera si todas se juntan en el mismo lugar general.
Paso 5: ¡Libertad!
 ¿Cómo se siente?
¿Te sientes afirmado y libre?
Espero que así sea.
Con suerte, he podido explicar el tucking lo suficientemente bien como para que puedas entender y aplicar TransTape con éxito.
Pero si no, hay más información en el sitio web de TransTape, ¡incluyendo un chat de ayuda en vivo!
Información que incluye el manual de usuario gratuito, cursos en video, este encantador blog y una página completa dedicada a tucking.
 Los productos afirmativos de género pueden cambiar la vida y salvar vidas .
Y seamos realistas, ¡son esenciales!
Meter la ropa interior puede ser caro e incómodo, y lo mismo ocurre con los gaffes, por lo que siempre es bueno saber que tienes otra opción disponible.
Incluso si es solo en los días en que sientes que tienes un poco de tiempo extra.
Cuando se trata de cuidarte, siempre debes hacer tu mejor esfuerzo para encontrar tiempo para ello.
Lo sé, más fácil decirlo que hacerlo, lo sé.
Pero lo digo en serio.
El amor es amor, y el amor es importante.
Eres tú, y tú eres importante.
Lo que hace que el amor propio sea extremadamente importante.
Hasta la próxima,
Mantente increíble,
Mantente hermosa,
Mantente tú.
Eres amado y las cosas mejoran.
Hablamos pronto,
Jamie

¡Bienvenido al club de los chicos geniales!
Mi nombre es Jamie y soy un hombre trans joven (más o menos) nacido y criado en el Valle del Hudson, en el estado de Nueva York. Comencé mi transición en mayo de 2017 y desde entonces, me he propuesto vivir sin disculpas siendo yo mismo y difundir conciencia a través de mi búsqueda de la felicidad. Soy el creador y escritor del blog Spilling T, un orgulloso afiliado de TransTape y cuando no estoy afuera con el mejor perro del mundo o pasando el rato con mis dos gatos, fabrico y vendo mis propios productos para el cuidado de la barba a través de Buckaroo's Beard Care. Siempre estoy buscando mi próxima aventura y he practicado paracaidismo, viajes por carretera, senderismo en las montañas e incluso serví por un corto tiempo en el Cuerpo de Marines de los Estados Unidos. Mi vida ha tenido su buena dosis de giros y vueltas y espero usar esas experiencias para crear contenido útil y con el que otros puedan identificarse, que pueda ayudar a alguien más a navegar un momento difícil en la vida.
Barbas, Sociales, Cinta y Escritura
Usa el código FINALLYME10 para obtener un 10% de descuento en tu TransTape!
https://linktr.ee/jamieakajames

